Have you ever looked in the mirror and wondered how to translate what you see onto a blank page? Drawing yourself can feel daunting, whether you’re an experienced artist or just setting out with pencil in hand. The idea of a self portrait template offers a solution—an accessible, structured path to capturing your own likeness, while a self portrait outline helps guide your hand to keep proportions and features in check. But how do you use these tools creatively, rather than letting them limit your unique style?
This guide unpacks the secrets behind making and using templates and outlines for self portraits. You’ll discover practical steps to set up your drawing, plus advice to move beyond the basics and develop your personal approach. Whether you want a recognizable likeness, a stylized version of yourself, or simply to boost your confidence while drawing, understanding these foundations will take your self portrait game to a new level.
Introduction to Self Portrait Templates
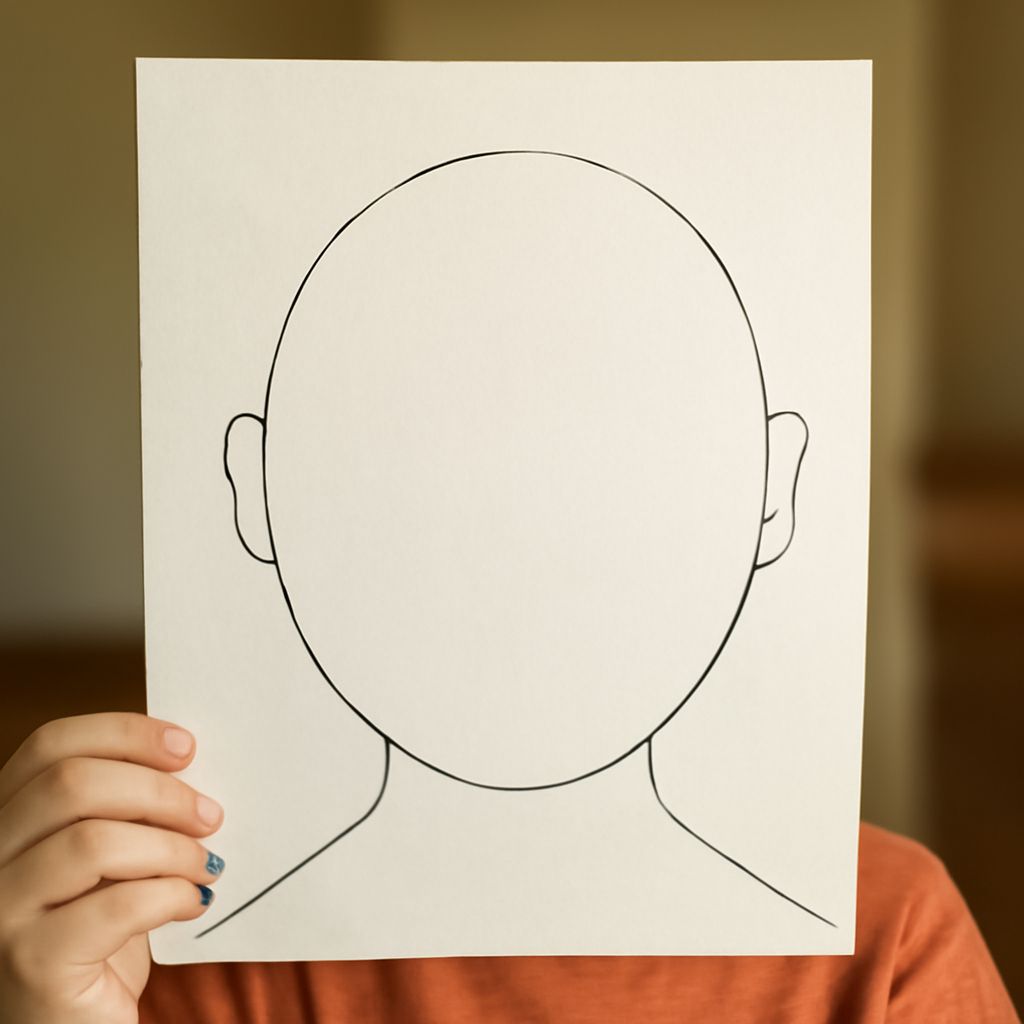
Before you put pencil to paper, it’s vital to understand what a self portrait template actually is. At its core, a template acts as a scaffold: a pre-drawn or lightly sketched map of facial proportions and features. Unlike a finished piece, templates are meant to be built upon, altered, and enriched with your own touches. They can range from simple ovals marking the placement of eyes and mouth, to more detailed structural guides showing the tilt of the head or the sweep of hair.
Templates are especially helpful for artists at any level. If you struggle with symmetry or capturing a likeness, starting from a solid framework can ease the pressure. Even professionals sometimes use rough underdrawings or digital templates to get started. By providing a repeatable structure, templates help you focus on more complex aspects later, like shading, texture, and expression.
Using a self portrait outline is closely related. An outline sharpens the focus on just the essential contours and landmarks of your face. When combined, a template and outline can help you quickly block in your features, leaving room for adjustment as you develop the drawing. These methods also speed up your workflow and make it easier to experiment with new styles or expressions.
Templates and outlines are not just for paper. Many digital artists rely on layers and guide shapes in their software of choice. Whether you draw by hand or on a tablet, creating an initial scaffold can make the entire self portrait process less intimidating and more enjoyable.
Why Use a Self Portrait Outline?
If you’ve ever felt stuck while drawing yourself, you’re not alone. Many artists find that a self portrait outline can break the process into manageable steps and reduce overwhelm. The outline serves as a visual anchor: by sketching the most important shapes and lines first, you ensure your composition stays balanced and realistic.
One major benefit of using an outline is that it speeds up the initial sketching process. Instead of agonizing over every feature right away, you can quickly map out placement and proportions, leaving refinement for later passes. This allows your creativity to flow and prevents early mistakes from becoming frustrating roadblocks.
Drawing with a self portrait outline also trains your eye to see shapes, not just details. You learn to break down the complex human face into simple components—circles, ovals, lines, and curves—which all come together as you gradually add layers of detail. This skill carries over to other forms of art, helping you tackle new subjects more confidently.
Outlines aren’t only for accuracy. They can help you push stylization, exaggerate features, or play with proportions. By starting with a clear structure, you gain the freedom to experiment, knowing that the groundwork keeps your drawing cohesive. In this way, outlines are as valuable for expressive, abstract self portraits as they are for traditional realism.
How to Create Your Own Self Portrait Template
Ready to try making a self portrait template from scratch? Start by gathering your tools—pencils, erasers, a mirror or a clear photo of yourself, and a good-quality drawing surface. If you’re working digitally, set up your drawing app to include separate layers for your template and for final lines.
Begin by lightly sketching the head shape. Use an oval or egg shape as your base. Next, add guidelines to show the center line of your face (vertical) and the placement of the eyes (usually halfway down the head). From there, mark positions for the nose and mouth, spacing them evenly based on your reference image. Don’t worry about details—focus on overall proportions and angles. These foundation lines are the bones of your self portrait template.
As you sketch, notice major landmarks: the outer edge of your eyebrows, the line of your jaw, the width of the nose, and where the ears connect to the head. Add these in lightly, adjusting as you check your likeness in the mirror or photo. Use partial outlines or broken lines so you can easily change and refine as needed. This is where the template shines—it’s flexible, adaptable, and forgiving.
Once you’re satisfied with the template, you can build your self portrait on top. Trace a self portrait outline that follows the main features and shapes, then gradually add more detail, texture, and shading. Remember, your template isn’t set in stone—keep tweaking and erasing as you work, letting your drawing develop organically over time.
Tips for Drawing with a Self Portrait Outline
Drawing with a self portrait outline gives structure, but how you use it makes all the difference. Start by keeping your lines light and loose. Heavy, dark lines can lock you in too early—let your hand move freely as you explore the shapes of your face. If you’re working digitally, use separate layers or colors for your outline and your final drawing.
Check proportions regularly. Step back from your work or hold it up to a mirror to catch skewed angles or uneven features. Don’t be afraid to erase and redraw until your outline feels right. This iterative process is key to a strong foundation in any self portrait.
After you refine your self portrait outline, focus on building value and form. Use light shading or hatching to indicate shadows and highlights. Pay attention to subtle curves and where light hits your face. These nuanced details will help your drawing feel lifelike and engaging, even if your initial outline was quite simple.
Experiment with style. Templates and outlines are starting points, not rules. Once you’re comfortable, try distorting proportions for a more stylized look or exaggerating certain features to express mood. Combining different outline approaches—such as blind contour drawing, gesture sketches, or even collage—will help you develop a unique visual voice.
Common Mistakes and How to Avoid Them
Even with a trusty self portrait template, it’s easy to fall into common pitfalls that undermine your drawing. One frequent mistake is over-relying on the template and not looking closely at your reference. Templates are guides, not replacements for observation. Check your work against real life often, noting where your features might differ from the standard template.
Another issue is drawing outlines too heavily or rigidly. A stiff self portrait outline can make your final artwork feel flat and lifeless. Keep outlines light and dynamic, adjusting as you go. Don’t hesitate to redraw or erase lines that don’t match the actual shapes you see in the mirror.
Some artists get stuck in the details too soon. Remember to work from big shapes to small details; focus on the overall composition before zeroing in on eyelashes or hair texture. This approach ensures your portrait will read well from a distance and up close.
Finally, don’t forget to take breaks and view your work with fresh eyes. Fatigue can make you miss proportion errors or facial asymmetry. Step away, then return with a critical perspective—this helps you catch mistakes early, saving time and frustration later.
Expanding Your Drawing Skills Beyond Templates
Once you’ve mastered drawing with a self portrait template, challenge yourself to move beyond ready-made guides. Practice drawing yourself from life without initial scaffolding, or try different angles and expressions that push your observational skills. Use your experience with templates to spot patterns and improve your freehand accuracy.
Experiment with various media—graphite, charcoal, ink, or digital styluses—to explore how line, tone, and texture affect your self portraits. Every material has its quirks and rewards, and combining techniques can lead to exciting breakthroughs in your work.
Join online communities or local drawing groups to share your progress and get feedback. Seeing how others approach the self portrait template or self portrait outline can reignite your creativity and offer new ideas. Tutorials, workshops, and books are also excellent resources for deepening your understanding of portrait drawing.
Ultimately, while templates and outlines provide a valuable springboard, your real growth comes from practice, experimentation, and observation. Each new self portrait you attempt will build confidence, sharpen your eye, and reveal new aspects of yourself—on paper and as an artist.