A printed gray sky can be made from thousands of tiny ink-holding marks. In an etching with aquatint, those marks merge to the eye into a field of tone, much like a wash. The process of making aquatint lets you protect selected areas of a plate at different stages, building a picture from light to dark.
Aquatint Process: From Grain to Printed Tone
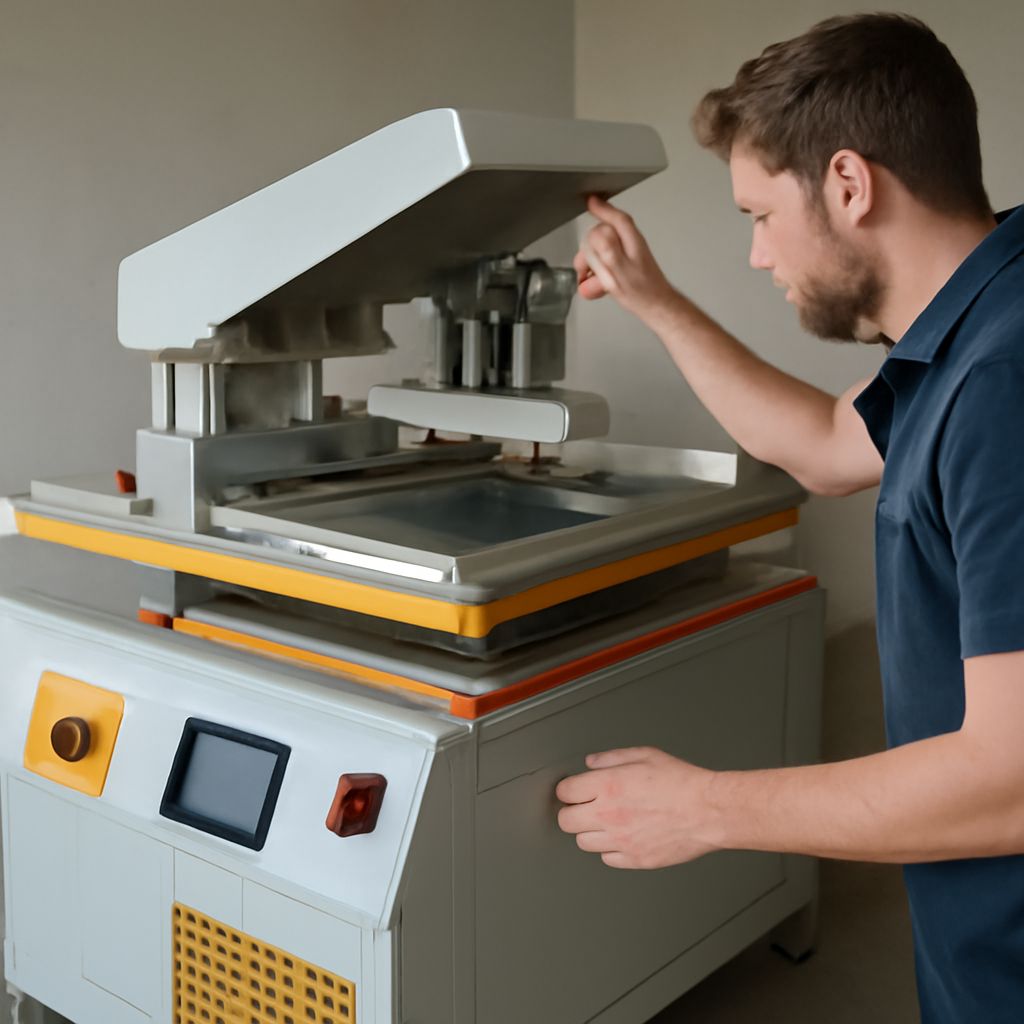
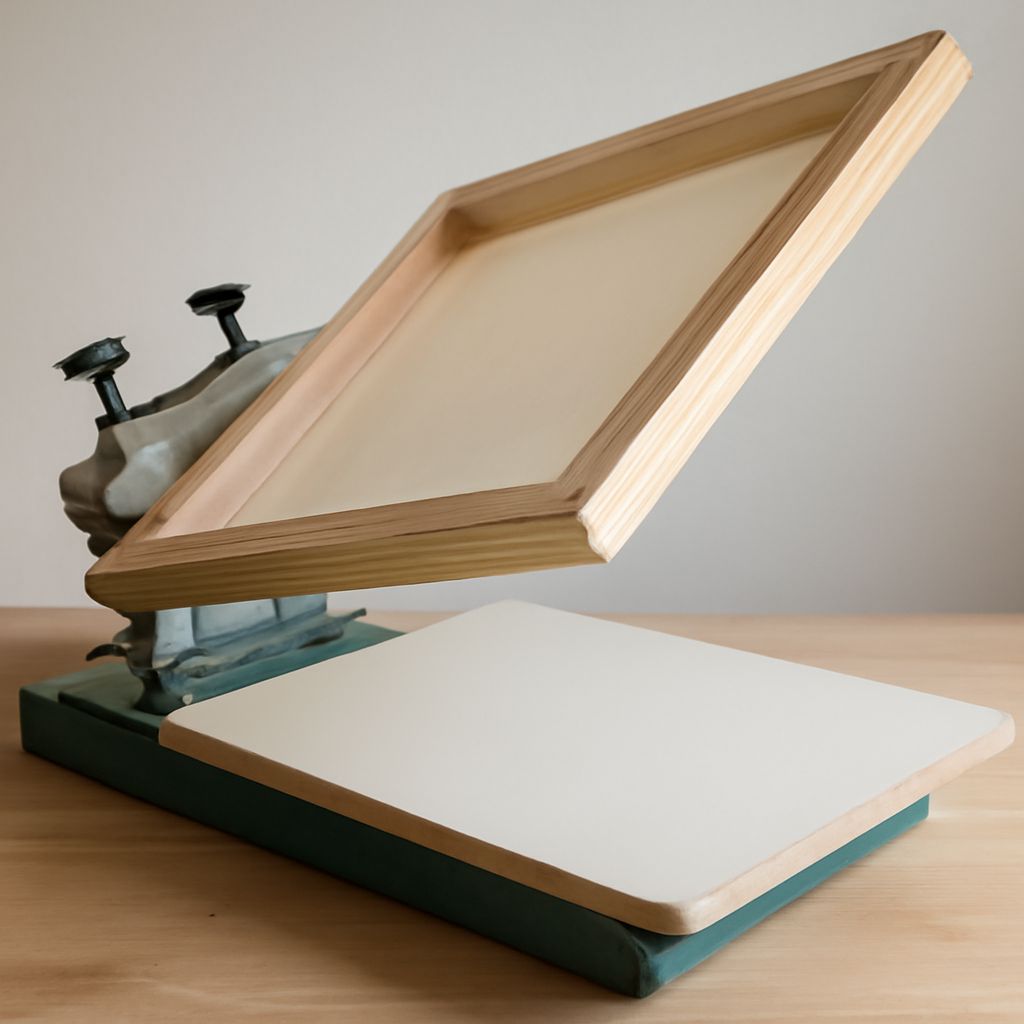
In the traditional aquatint technique, a printmaker distributes fine resin over a metal plate and heats it so the particles adhere. The hardened particles protect tiny points of metal. An etchant acts on the exposed metal between them, creating a fine network of recessed marks. After the ground is removed, ink is worked into those recesses and the plate’s surface is wiped. Under the pressure of an etching press, damp paper receives ink from the recessed texture.
The Metropolitan Museum of Art’s account of aquatint describes how these minute channels hold ink and produce tones resembling washes. Seen closely, a printed area has texture; viewed at a distance, the marks can read as a continuous gray. The size and distribution of the grain influence its character, while the depth of the etched recesses helps determine how much ink they retain.
Aquatint printmaking offers a way to think in areas rather than outlines alone. You can combine it with etched lines, but an aquatint-etched study can begin with broad shapes: a pale sky, a midtone wall, and a dark doorway. The important question is how those shapes relate when the ink reaches the paper.
Protect the Light, Leave the Dark Exposed
A stop-out is a resistant coating applied to areas you want to protect from further etching. Before the first exposure, cover the places intended to remain the white of the paper. After an initial exposure, cover the areas meant to print as the lightest tone. Expose the plate again, then protect the next value. The darkest areas remain open to the etchant through the most stages.
The stages of aquatint are cumulative. If a wall is protected after the second stage and a doorway remains exposed for a third, the doorway has received more total exposure and will generally hold more ink. In aquatint plate etching, exact times depend on the plate, ground, etchant, and studio conditions; a test plate made in the same setup is more informative than a borrowed schedule.
This sequence is the heart of the aquatint process and of the aquatint etch. You are not painting gray directly onto the plate. You are deciding when each area stops changing. For an etched aquatint, keep a record of exposure stages and the areas covered at each one; it becomes a map you can compare with the proof.
Plan a Four-Value Study
Imagine an aquatint print study of a still life: a white cup on a table against a darker wall. Reduce it to four shapes before working on the plate:
- Paper white: the cup’s brightest highlight and a narrow strip of reflected light. Protect these before the first exposure.
- Light tone: the lit side of the cup. Protect it after the first exposure.
- Middle tone: the wall and much of the tabletop. Protect them after the second exposure.
- Dark tone: the cast shadow beneath the cup. Leave it exposed through the final stage.
For this aquatint printing method, make a thumbnail using four distinct values and label each region with its stopping stage. Keep the highlight large enough to read and give the shadow a clear shape. If the tabletop and wall share a value, their boundary may disappear; either accept that as part of the composition or give them different values or an etched line.
Because the image transfers from plate to paper in reverse, plan any directional detail accordingly. A simple cup lets you focus on values.
Read the Proof Before Changing the Plate
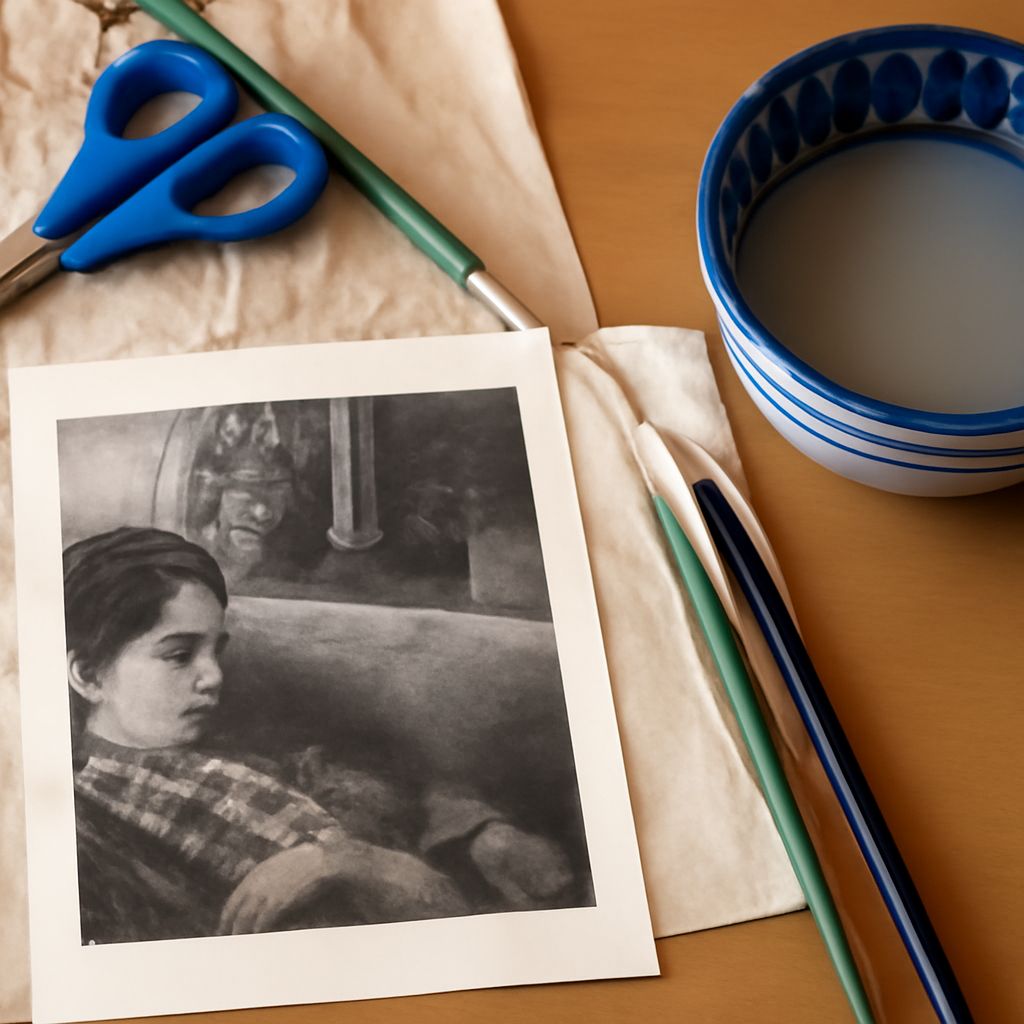
In making aquatint prints, a proof is a trial print that reveals how the plate and printing choices work together. Put it beside the thumbnail. Can you identify the cup without its outline? Is the cast shadow darker than the wall? Does the highlight lead your eye to the intended part of the form? Look at the image from a little distance as well as close up; the grain and overall value pattern answer different questions.
If two values merge, check your stage notes and compare the areas that were meant to differ. Also consider the print itself: ink, wiping, paper, and pressure can change the appearance of tone. A second proof printed with consistent handling helps you judge whether a difference belongs to the plate or to the way it was printed. Discuss the result with your print studio before altering the plate; additional exposure can deepen a tone, while lightening an already etched area calls for a different correction.
In aquatint etching, the proof is therefore a decision tool, not merely a rehearsal for the final print. Mark the areas that need attention and preserve the proof with your notes. Proofs reveal the effect of each decision.
How Many Tones Should Your First Study Use?
Start with paper white and three etched values, as in the cup study. That gives you enough separation to describe light, form, and shadow without juggling a long list of stopping stages. Before making a more elaborate aquatint etching, use a small plate for an etched aquatint test to learn how your studio’s materials translate those stages into printed grays. Then plan the next image around the range your own proofs actually show.