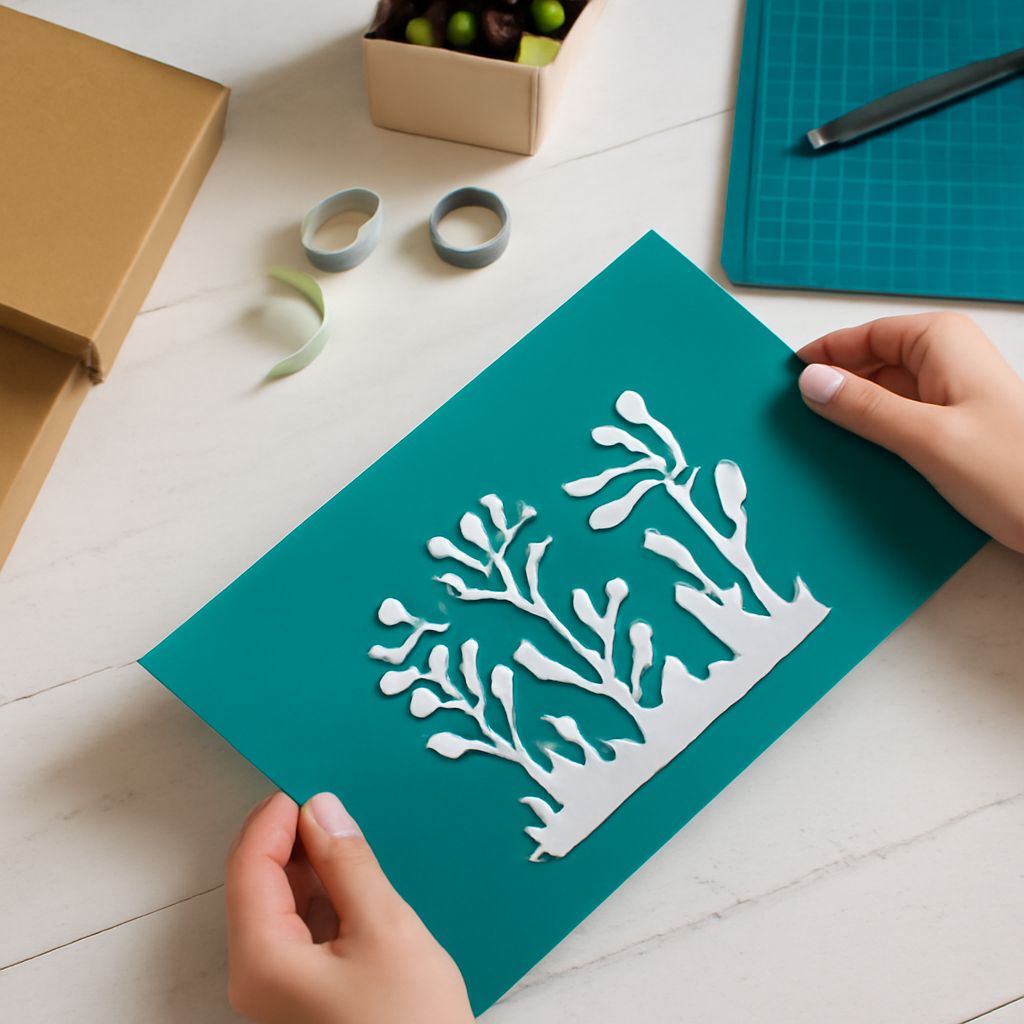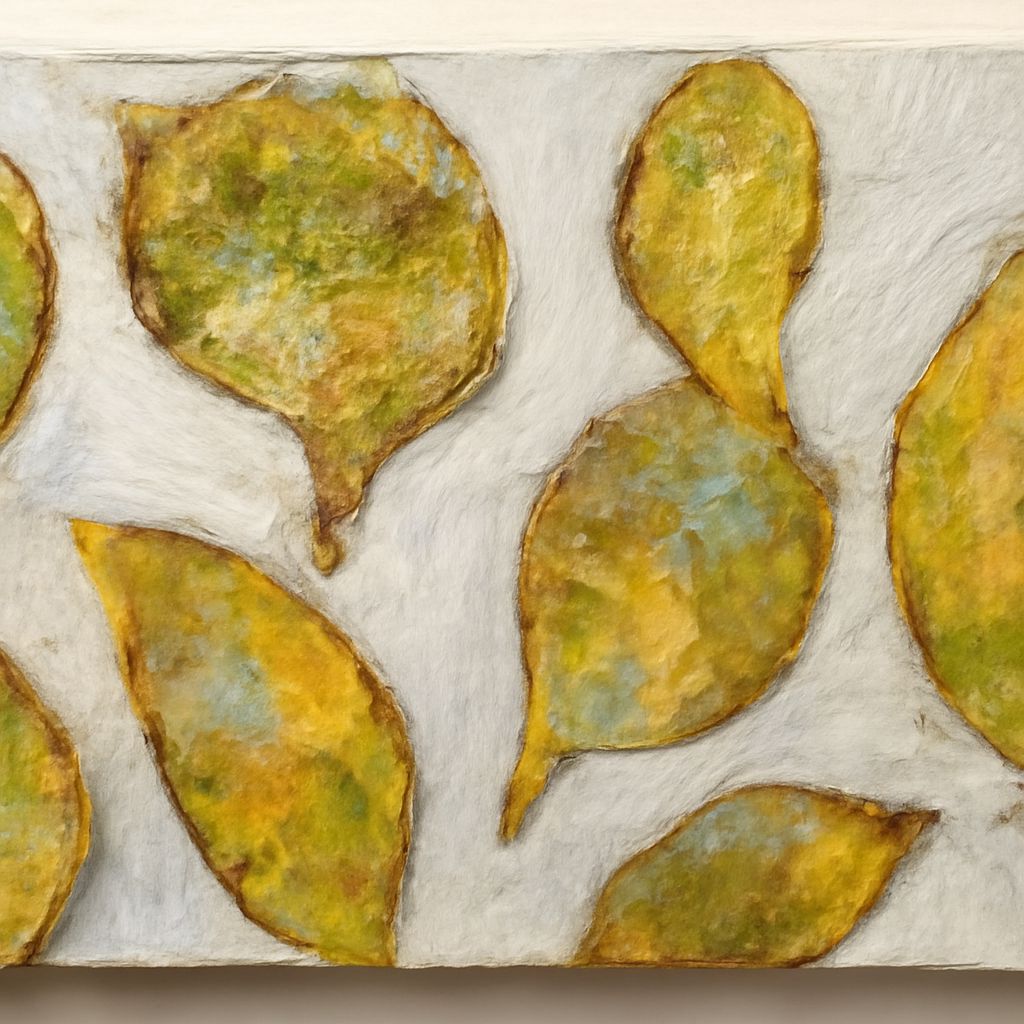
A tidy paper flower starts with coils you can control: a center that holds together, petals of similar size, and just enough glue to keep them in place. A few tools for paper quilling make those results easier to repeat, even if this is your first afternoon with a strip of paper.
Quilling Tools for Your First Project
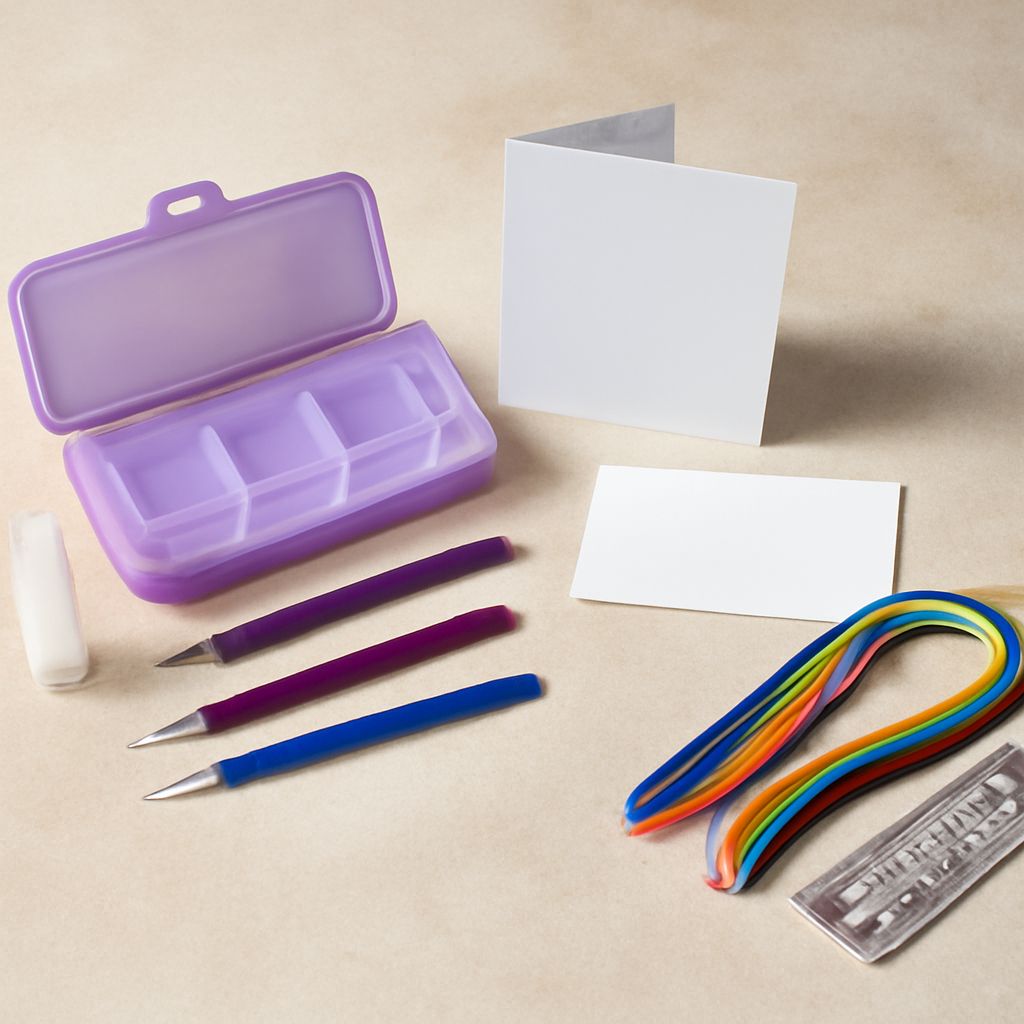
Start with precut paper strips, a slotted quilling tool, scissors, and clear-drying craft glue. Add a toothpick to apply tiny dots of glue, plus a piece of scrap paper or a plastic lid as a palette. Your fingers can release and pinch the coils; a simple flower or cluster of leaves will give them plenty of practice.
You can add fine-tip tweezers and a circle template when your design calls for smaller pieces or matching shapes. These paper craft tools for quilling help with placement and consistency. The best paper quilling tools solve a particular problem at your table. A large kit may contain interesting extras, but try a few shapes first so you know which jobs need help.
Grip and roll a strip
A slotted quilling tool has a narrow opening at its tip. Slide one end of a strip just far enough into the slot to catch it, then turn the handle while guiding the paper with your other hand. Keep the edges aligned as the coil grows. When you reach the end, slide the coil off gently and let it relax if you want an open spiral.
For a tight coil, hold the rolled strip together and secure its end with a small dot of glue. For a loose coil, let it expand before gluing. The slot leaves a small bend at the center; for many designs that detail disappears into the finished shape. Practice with a few strips of equal length and notice how a steady hand changes the result.
A needle-style quilling implement has a smooth, slender shaft rather than a slot. To begin, curl the paper end around the shaft and roll while holding the paper against it. It takes a little more coordination, but the center can be finer because the paper does not need to fit into a slot. Choose it when the center of a small coil is prominent in your design. A rounded toothpick can serve as a simple way to experiment with rolling around a shaft.
Make coils match
A circle template is a quilling accessory with holes in different diameters. Roll a strip, remove the coil from the rolling tip, and let it expand inside a chosen hole. Glue the loose end while the coil is held at that size, then remove it carefully. Use the same hole and equal lengths of paper for a set of petals; both the outside diameter and the amount of paper influence the appearance.
If one petal still looks different, check whether its layers sit evenly and whether the strip was rolled with similar tension. A template gives you a boundary, while your hands determine how the layers settle. Make a few test coils before preparing a whole bouquet; paper flowers are patient, but uneven petals do tend to announce themselves.
Shape, place, and join
Once the glue on a loose coil holds, pinch one side to make a teardrop. Pinch opposite sides for a marquise or leaf. Press gently and keep the coil flat on the work surface if you want the layers to stay level. Rotate each piece as you shape it so the center sits where you want it.
Fine-tip tweezers help lift a tiny coil without crushing it and place it next to its neighbors. Hold a piece lightly near its edge; squeezing hard can flatten the curve you just made. For larger pieces, your fingers may give you better feedback. A damp cloth nearby helps keep sticky fingertips from collecting paper like confetti.
Put a small puddle of glue on your palette and use the toothpick to transfer a dot to a strip end or adjoining edge. Hold the join briefly, following the glue’s directions, before moving it. To attach a shape to a card, touch its underside lightly to a shallow film of glue, then place it on the background. Too much glue can spread between the paper layers and obscure their delicate outlines.
Add equipment as the design grows
A cork board and straight pins can hold curves in position while glue dries. Put wax paper between the work and the board so the piece is easier to lift. This setup earns its space when you are building an open arrangement of connected shapes that shifts as you assemble it. Keep the pins alongside the paper to guide it, rather than piercing a finished strip.
A comb can help form repeated loops around its teeth; a crimping tool adds a rippled texture to strips. Both create effects beyond basic coils. Try the pattern on scrap first and decide whether that effect belongs in your illustration. Tools used for paper quilling are most rewarding when you can name the mark or construction each one will make.
When you choose your next accessory, name the task that slowed you down: matching petals, positioning a small piece, or holding a curve. Pick the tool that addresses that task and make one test shape before starting the final composition.