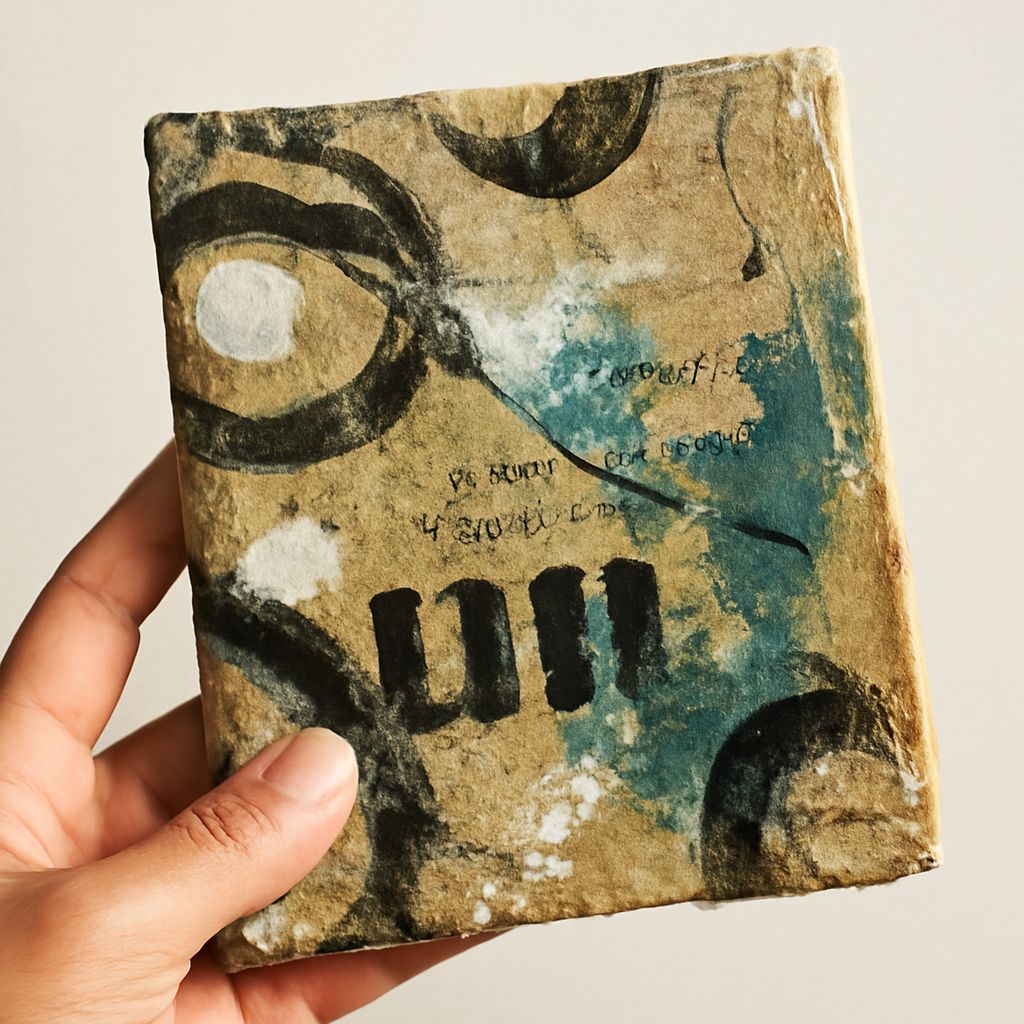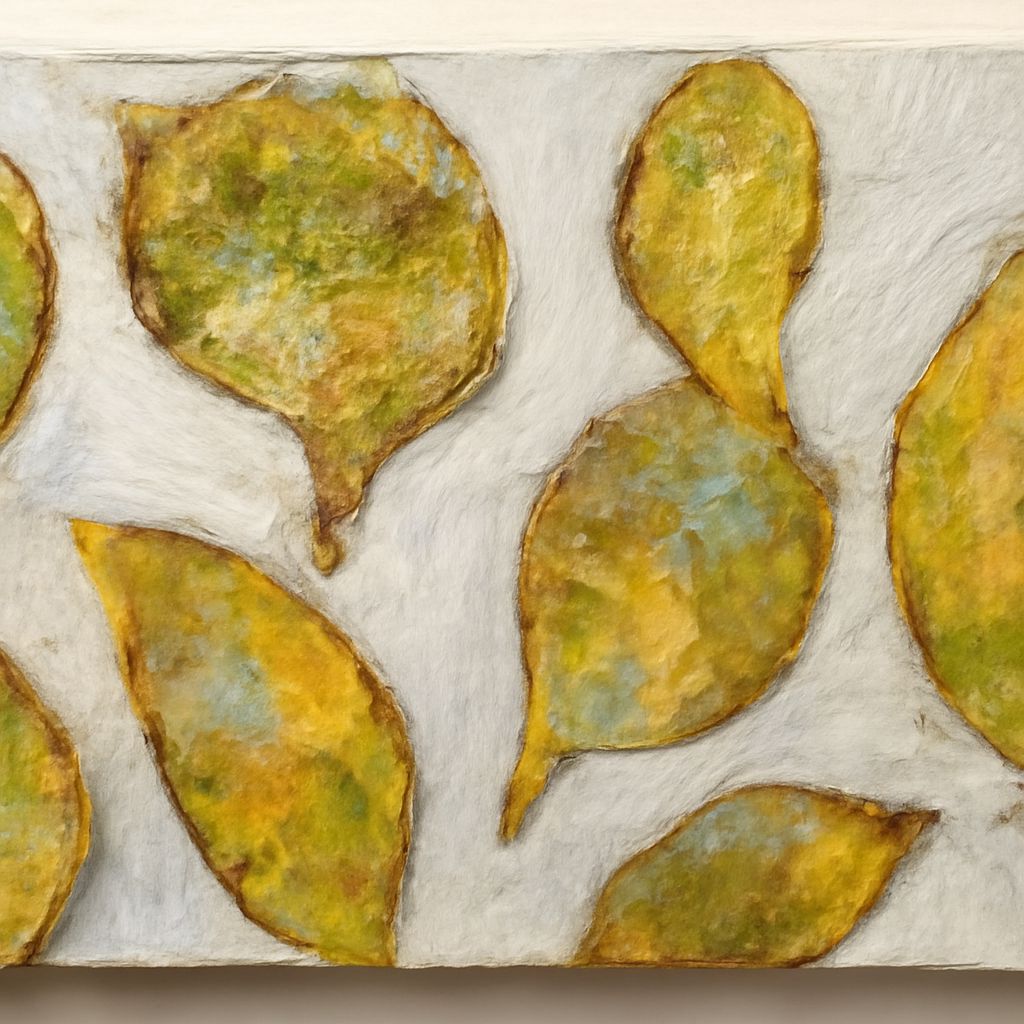
A small artwork with layered paper, a wash of color, and a few drawn lines can turn ordinary scraps into a place worth looking at. In collage art made with mixed media, each material has a job: paper establishes shapes, paint connects them, and drawing brings details into focus.
You can make the piece on a tabletop with a handful of supplies. Start by arranging a simple landscape, then build it in layers that can hold together without hiding all the interesting edges.
Mixed Media Collage Art: Choose a Surface That Can Take Layers
For a first mixed media collage art project, use a 5-by-7-inch piece of heavyweight watercolor paper or a sturdy illustration board. A firm surface is easier to handle than printer paper and is less likely to buckle under modest amounts of moisture. Tape watercolor paper to a work board around all four edges if you plan to use a wash; leave it taped until dry.
Collect a page of uncoated book text, plain colored paper, a piece of tissue, a pencil, and acrylic paint. Keep the palette to two paint colors plus white, and pick papers that share one of those colors. A pencil adds a dark value.
Use a matte acrylic medium as the adhesive for this project. It bonds paper and dries to a paintable surface. A glue stick can work for light paper in a dry sketchbook, but its bond may be less reliable under wet layers or on lifted edges. Apply acrylic medium with an old brush and rinse the brush promptly with water; dried acrylic is a determined houseguest.
Make a miniature hillside
Your subject is a hill with a small house and a tree. Cut or tear a broad hill from colored paper, a house no larger than your thumbnail from a book page, and a tree crown from tissue. Leave some of the background visible around them. The contrast between printed text and simple silhouettes makes the scene readable even at this size.
Before using glue, place the hill across the lower third of the support. Move the house away from the exact center and set the tree so its crown overlaps the hill. Try shifting the house higher or lower: higher makes the slope feel steeper; lower gives the sky more room. Squint at the arrangement. If the house disappears, put it against a darker patch or trim its outline until its shape is clear.
Photograph the arrangement, then remove the pieces. Brush a thin, even coat of medium onto the back of the hill and position it. Smooth from the center outward with clean fingers or a scrap of paper to push out air. Wipe excess from the edges before it dries. Glue the house next; for tissue, brush medium on the support, lay the tissue down gently, and dab a little more over it. Dragging the brush can tear the damp sheet.
Let the adhesive dry according to its label before painting. Thin acrylic with a little water and brush a pale wash into the sky, leaving some paper exposed. A light glaze over one edge of the hill can connect it to the sky without covering its color. Let that layer dry, then draw a trunk, windows, and a short path with pencil. Stop when the house and tree are readable.
Use edges, layers, and marks deliberately
Different mixed media collage techniques change how the eye moves across a picture. Try these on a spare piece of the same support first, using the actual papers and paint you plan to combine.
Torn edges expose irregular fibers and make a soft transition, especially between two similar colors. Tear toward yourself slowly to reveal more of the pale paper core. Place that edge against a darker shape if you want the texture to show.
Cut shapes give a crisp silhouette. Use scissors for the house and let its straight roof contrast with the uneven hill. In a collage built with mixed media, crisp edges organize loose layers.
Translucent overlays let an earlier layer remain visible. Tissue over printed text can soften the type while keeping its rhythm. In collage artwork made with mixed media, that half-hidden information adds depth without requiring a complicated drawing. Test colored tissue with wet medium first: some dyes bleed, and a delicate sheet can wrinkle or tear.
Drawn connections carry a line across separate pieces of paper. A branch that starts on the background and crosses the tissue crown pulls those surfaces together. Wait for the adhesive and paint to dry, then use a soft graphite pencil; a very slick acrylic surface may make the line faint, so test a corner before committing to fine details.
Match the materials before you commit
In art collages made with mixed media, the order of the layers matters as much as the colors. Acrylic paint and acrylic medium work well together when each layer has dried. Heavy, glossy, or coated papers may resist adhesive or curl; test a small offcut, press it down, and let it dry before using a large piece. A thin coat of medium generally causes less wrinkling than a puddle.
Water-based ink or watercolor can reactivate when brushed with water or medium, causing lines to run. If you want a clean line, add it after the wet layers, or test a dry sample with your chosen medium before using it. Graphite can also smear under a wet brush, which is another reason to reserve it for the end. For a collage using multiple media, label your test scraps so you can remember which combination produced a bleed or a crisp mark.
A multimedia collage can include raised objects, but this paper project stays relatively flat. If an edge lifts after drying, slide a little medium underneath with a small brush, cover it with clean release paper, and weight it until dry. Avoid piling books directly onto wet paint or adhesive.
Finish with intention
Look at your collage art made with mixed media from an arm’s length. If every area competes for attention, quiet one with a thin veil of background color. If the focal point feels lost, strengthen one dark line near the house rather than outlining every shape. The art of collage with mixed media often depends on what remains visible between the additions: keep a little open sky.
Let the finished surface dry fully before storing it. Protect the pencil with a sheet of paper, or frame the piece behind glass.
For your first try, choose a limited palette and a few compatible papers, arrange the pieces before gluing, and decide which pencil marks you will add last. Your little hillside can be a rehearsal for larger collages made with mixed media—or simply a small place to visit when the desk gets crowded.