The dark lines on your artwork become open paths for ink through a screen. The light around them hardens a coating that blocks the rest of the mesh. In screen printing with photo emulsion, that reversal turns a drawing into a reusable stencil; understanding how the emulsion for screen printing responds to light helps you keep the details you intended.
Screen Print Emulsion Starts With the Right Materials
Choose a screen print emulsion compatible with your ink and cleaning process. A product intended for one ink system may not stand up to another during a long run. Read its instructions for mixing, light-safe handling, drying, exposure, and reclaiming. Some emulsions require a separate sensitizer; others arrive ready to use. Their storage life and working requirements differ. The photo emulsion used for screen printing must also suit the ink you plan to use.
Choose mesh for both the image and the ink. A finer mesh can hold smaller details, while a coarser mesh generally allows a heavier ink deposit. Fine lines need enough mesh support, and thick inks may not pass easily through a very fine screen. Use the ink and screen suppliers’ guidance as a starting point, then test the combination with your actual design.
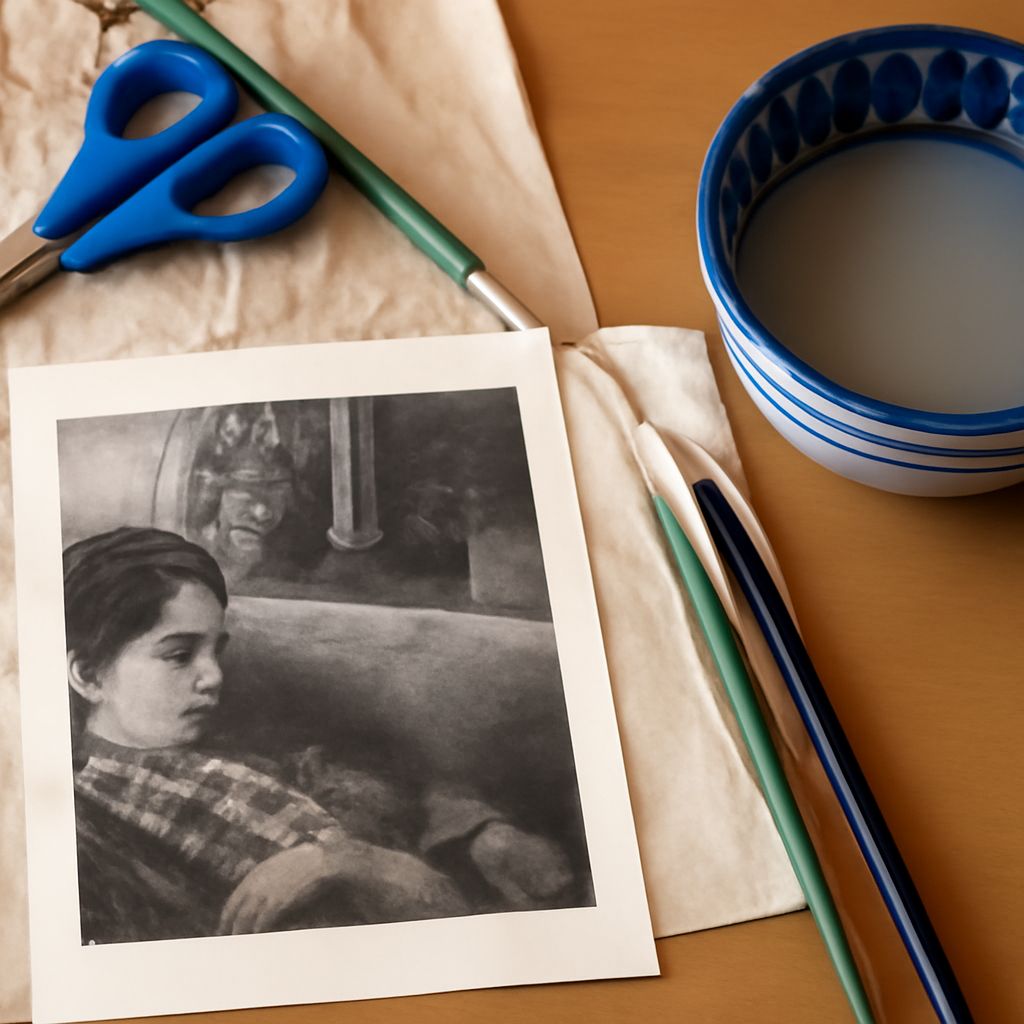
A bold black leaf with a few veins is easier to evaluate than tiny dots. Each black area on the film should block exposure light well; transparent or thin-looking dark areas may allow light through. Print or prepare the design as an opaque positive on a suitable transparent film, and inspect it against a light. For screen printing photo emulsion, the film’s density and close contact with the coating both affect the edge of the finished stencil.
Coat and Dry the Mesh
Clean and degrease the mesh using a product intended for screen preparation, then rinse and let it dry fully. Residue or moisture can interfere with a smooth, well-adhered coating. Work under the light conditions specified for your emulsion and keep coated screens away from unintended exposure.
For printing screens with photo emulsion, use a scoop coater to apply an even layer according to the product’s directions. Follow its recommended coating sequence rather than piling on extra material in the hope of making a stronger stencil. A thick or uneven film can change exposure and make small openings difficult to wash out. Look across the screen for streaks, drips, or missed areas before placing it in the recommended drying position.
Allow the coated screen to dry completely in the conditions specified by the manufacturer. Humidity and airflow affect drying, so a fixed waiting period borrowed from another studio may leave moisture in the coating. A dry screen makes testing meaningful. For photo emulsion screen printing, keep the coating method consistent from one test to the next.
Expose the Drawing and Wash It Out
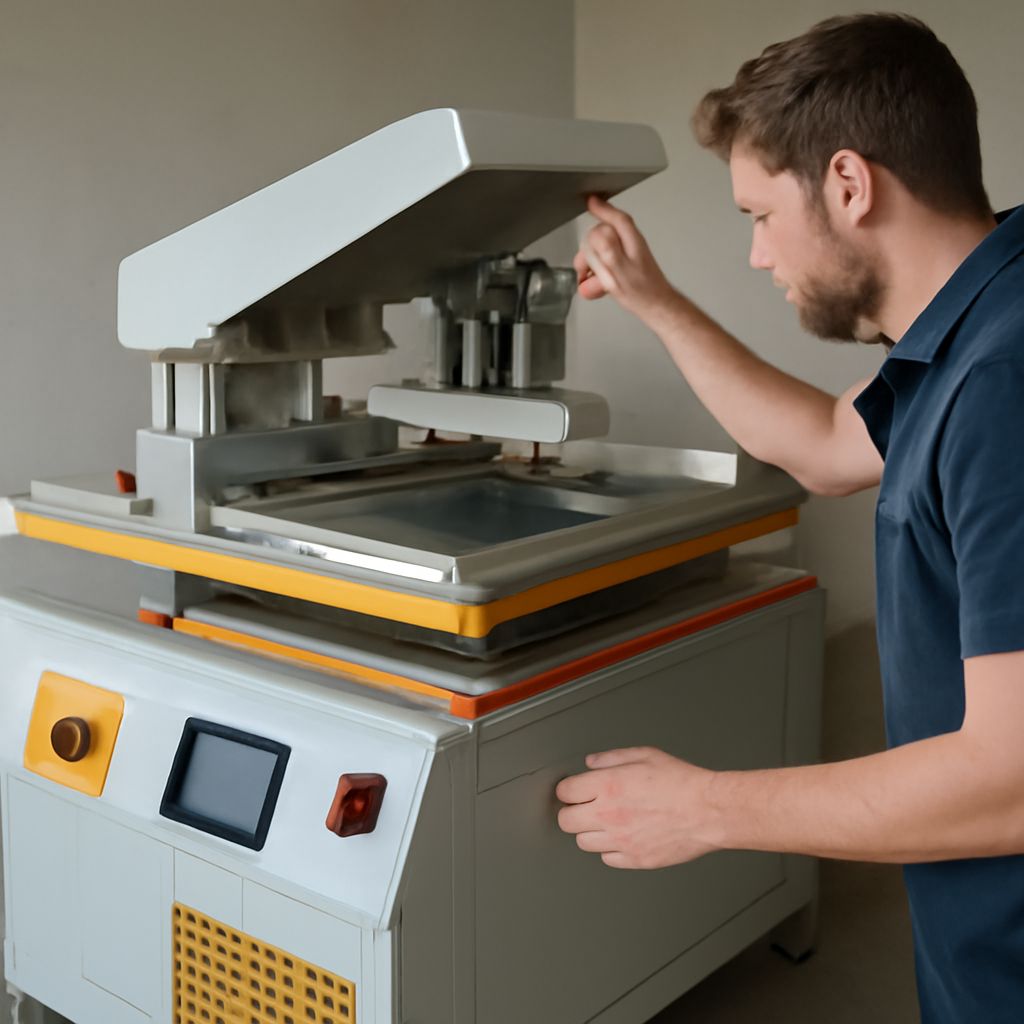
Place the film positive against the dried coating in the orientation required by your setup. The printed side should make close contact with the screen as instructed for the exposure unit. Gaps can let light spread under an edge, softening a fine line. Secure the film without shifting it, then expose using the light source and setup specified by the equipment and emulsion makers.
During screen printing, the photographic emulsion hardens where light reaches it. The opaque leaf blocks light, so the coating beneath it remains soluble enough to wash away. The clear areas allow light through and become the stencil that stops ink. Clear veins leave hardened lines inside the opaque leaf if the mesh and exposure can hold them.
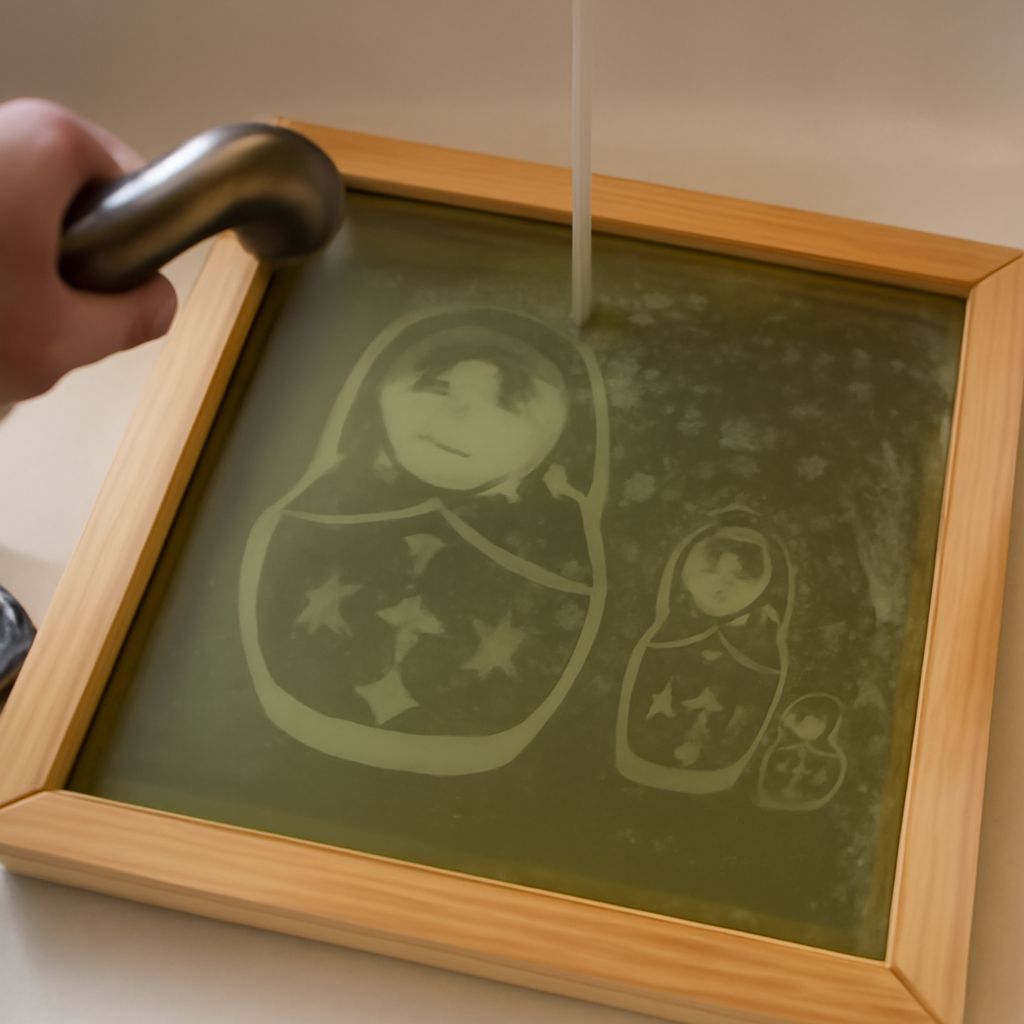
Wet and rinse the screen as directed by the product instructions. As the unexposed coating clears, open mesh should appear in the image areas. Avoid forcing stubborn detail open with an aggressive spray: if the image will not develop, the cause may be exposure, film density, or coating thickness. Let the screen dry before evaluating it closely.
Test Exposure and Inspect the Stencil
Screen printing with photographic emulsion has no universal exposure time. Light source, distance, mesh, coating thickness, and emulsion all affect the result. Use an exposure calculator or step test with your own setup and follow the product’s method. Compare the test areas for open detail and a firm stencil, then record the settings alongside the mesh and coating method. When one variable changes, test again.
Hold the dry screen up to light. Check that the leaf’s open areas are clear, the thin stencil lines remain intact, and no pinholes appear outside the image. Small unwanted holes may be repaired with a compatible blockout; use the product’s instructions and let repairs dry. Tape the frame edges as appropriate, then make a test print. A sharp stencil may still need a change in ink, pressure, or mesh to produce the mark you want.
The screen-making guide from ScreenPrinting.com describes cleaning, coating, exposure, and washout as connected steps. Treat them that way: a good exposure cannot compensate for a dirty screen or a weak film positive.
If the Image Will Not Wash Out Cleanly
If fine openings stay closed, first check whether the positive is opaque and held tightly against the screen. Excess exposure can harden areas that should wash away, while an uneven or overly thick coating can complicate development. If the stencil becomes slimy or washes away outside the image, underexposure or incomplete drying may be involved. For your next photo emulsion screen printing test, keep the artwork and coating consistent, make sure the screen is dry, and use a controlled exposure test to find the setting that preserves both open detail and a firm stencil.