A paper leaf can disappear with one misplaced cut: its stem is the narrow bridge that keeps it attached to the rest of the sheet. Learning to cut paper as art starts with seeing those connections. In your first papercut, you will decide which shapes stay, which openings go, and how every piece remains joined.
Papercutting Begins With a Simple Drawing
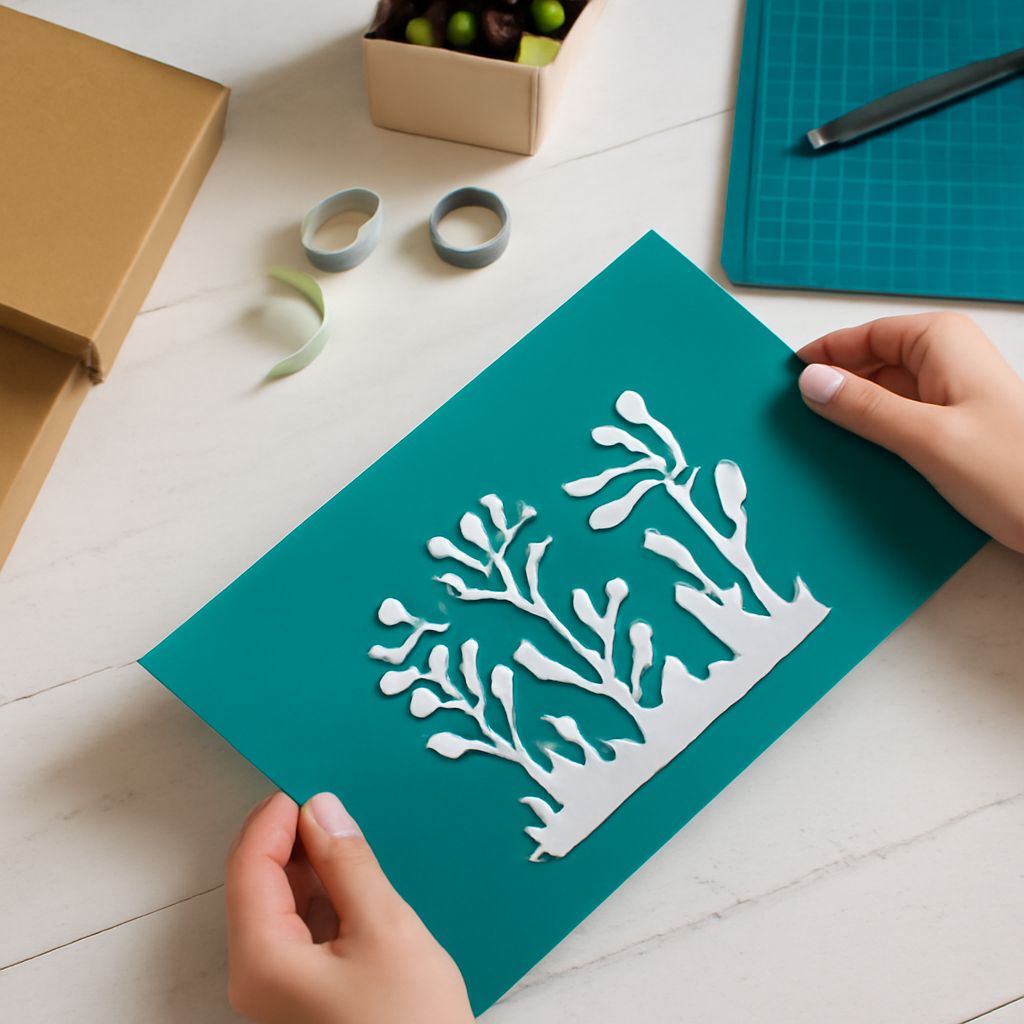
For this first project, draw a 5-inch square frame around a single branch with three leaves. Let the branch grow from the bottom edge of the frame, and make each leaf touch the branch through a short, broad stem. The frame and branch will stay as one connected piece. The spaces around the branch will become openings through which you see the backing color.
Use a pencil to draw on the back of your paper. Keep the shapes broad and the curves uncomplicated. The back-to-front arrangement means any remaining pencil marks will be hidden when you turn the finished piece over. If your design contains a letter or points in a particular direction, remember that the finished front will reverse it.
Papercutting asks you to see both kinds of shape at once. The positive shape is the paper that remains: frame, branch, stems, and leaves. The negative space is what you remove. Shade the parts you intend to cut away with a pencil, leaving the retained shapes unshaded. This pause can save a leaf.
Give Every Shape a Route to the Frame
Trace an imaginary path from each leaf to the frame. If your finger cannot travel along unbroken paper, the leaf will fall out. In paper cutting art for beginners, a broad bridge is easier to handle than a hair-thin one. For this small practice piece, try stems about 1/4 inch wide; adjust them if your paper or drawing needs more support. This is a starting dimension for the exercise, not a rule for every design.
In your cut-paper artwork, look for openings that nearly meet. The slender strip between them may bend or tear even if it technically connects. Widen that strip in your sketch, enlarge one shape, or simplify the curves. For example, if a leaf has a small hole for a vein, leave enough paper around it to keep the leaf attached. You can also draw the vein as a surface detail instead of cutting it out.
Many paper cutting designs look intricate because openings repeat, not because every bridge is microscopic. Clean shapes with generous connections make a stronger first piece than a lacework of fragile points.
Choose Paper and Set Up Your Tools
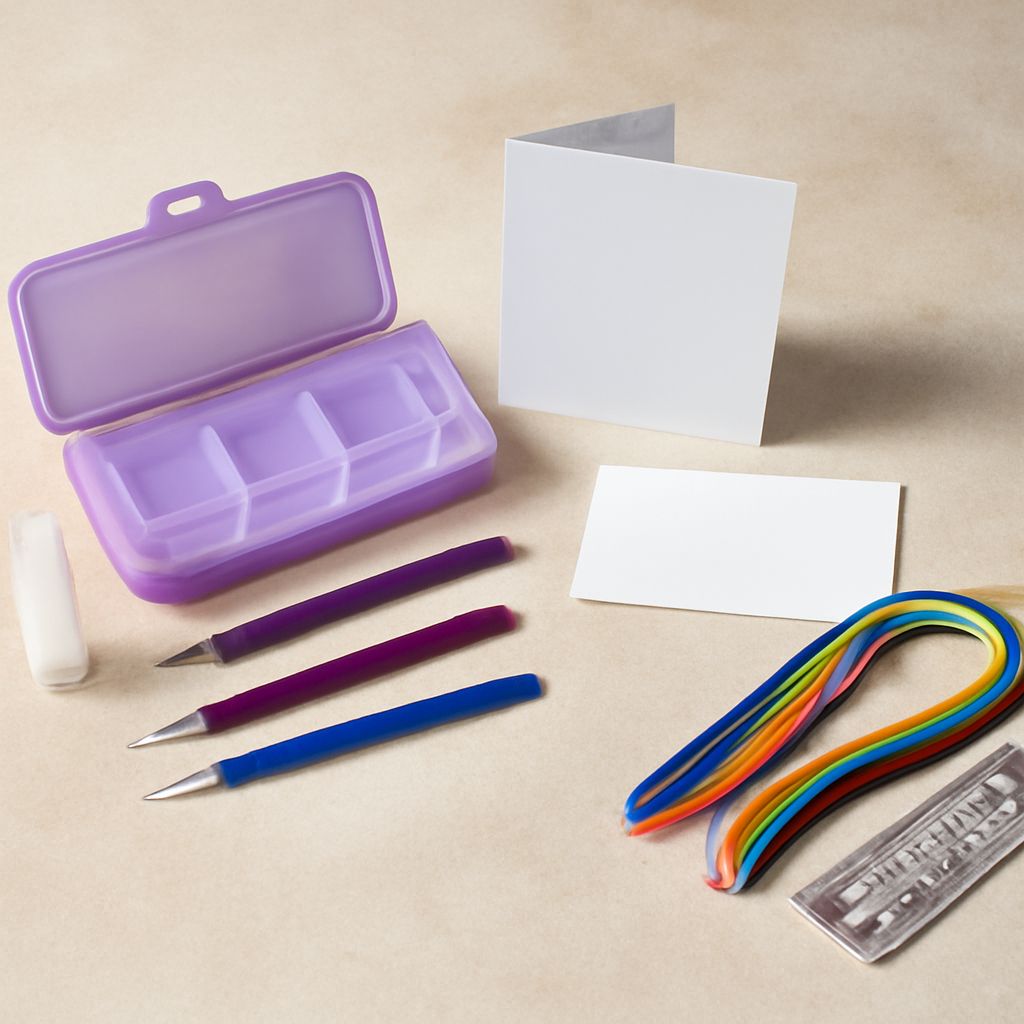
Try smooth, medium-weight paper or light cardstock that holds its shape but is comfortable for you to cut. Very thin paper can crumple as you turn it; very heavy card needs more pressure and can make tight curves difficult. Test a corner with your tool before transferring the whole drawing. A contrasting backing makes openings visible.
For cutting your paper artwork, use a sharp craft knife and a self-healing cutting mat on a stable surface. Keep your supporting hand clear of the blade’s path and cut away from your fingers and body. A metal ruler can guide straight outer edges, with your fingers set back from its edge. Follow the tool’s instructions for changing and disposing of blades, and cap or store the knife when you pause.
Scissors are useful for trimming the outside of the square, while a knife gives you access to enclosed openings. A fresh, suitable blade generally needs less force than a dull one. If you have to push hard or the paper tears instead of separating, stop and check the blade, paper, and mat before continuing.
Cut the Smallest Openings First
Begin with the shaded spaces closest to the leaves and stems, while the rest of the sheet still supports them. Work from the middle outward, leaving the outside of the frame until last. In a beginner’s paper-cut art project, that order keeps the sheet easier to hold and reduces the chance of bending a narrow connection.
For a curve, make controlled short cuts and turn the paper as needed rather than twisting your wrist around a tight corner. Lift the blade before changing direction. At a corner, meet the previous cut carefully; avoid extending either line into a stem. If an opening does not release, inspect it for an uncut spot and finish that spot gently. Pulling the scrap is an excellent way to discover which bridge was weakest.
Once the interior of your paper cutout is free, cut the outside of the frame. Turn the work over and lay it on the contrasting backing without glue first. Check the silhouette and the balance of light and dark. If you want to mount it, use small, controlled amounts of an adhesive suitable for paper, especially under broad areas; too much can squeeze into the openings or wrinkle the sheet.
If a Bridge Starts to Tear
The most common trouble in a first cut-paper design is a stem that becomes too narrow or begins to split. You may see a white crease, a ragged edge, or movement when you lift the scrap beside it. Stop pulling and finish any uncut edge with the knife. If the piece is still attached, reinforce the back with a small strip of matching paper and let the adhesive dry. If it has separated, align it on the backing and join it with a narrow paper strip on the reverse. For your next drawing, widen that bridge before cutting; the best repair is the one your next leaf never needs.