Dragon Drawing Tutorial: Step-by-Step Projects for Artists
What makes a dragon drawing tutorial worth following — and what makes one frustrating to work through? The difference usually comes down to whether the tutorial gives you transferable structural knowledge or just a step-by-step recipe for one specific image. The best dragon drawing tutorial teaches you how the underlying form works: the mass relationships, the wing attachment logic, the way scales follow the surface of the underlying cylinder. Alongside the dragon work itself, the skills you develop drawing projects in this genre transfer directly to drawing fingers, feet drawing tutorial subjects, and drawing hand tutorial exercises — because all of them involve articulated, multi-segment forms that require spatial reasoning as much as observation.
This guide takes you through the structural foundations of dragon drawing, covers several drawing projects at different complexity levels, and integrates finger, hand, and feet drawing as both standalone exercises and as directly relevant practice for dragon extremity work.
Dragon Anatomy: Understanding the Form Before You Draw
Mass Relationships
Before you draw a single scale, establish the major masses of your dragon: the head, the neck, the chest and shoulder girdle (where wings attach), the midsection, the hips and haunches, and the tail. These masses should read convincingly in three dimensions before you add any surface detail. A dragon drawing tutorial that skips this step produces dragons that look flat from every angle except the one used in the tutorial reference. Build your masses using simple forms — egg shapes, cylinders, spheres — and establish their spatial relationships in three dimensions.
Wing Structure and Attachment
Wings are the element most artists struggle with in dragon drawing. Bat anatomy is the most useful reference here: dragon wings typically use the same basic structure as bat wings — an elongated hand and arm with a membrane stretched between the finger bones. Study bat wing anatomy from photographic reference before your dragon drawing projects, because understanding the underlying bone structure explains why bat wings (and dragon wings modeled on them) look the way they do in different positions and at different angles.
Claw and Extremity Anatomy
Dragon claws and feet are scaled-up versions of bird and reptile anatomy — and drawing them requires the same spatial reasoning skills as drawing human hands and feet. This is where a drawing hand tutorial practice routine directly serves your dragon drawing: understanding the knuckle positions, finger segment proportions, and how digits foreshorten when viewed end-on prepares you to draw dragon toes and talons with the same structural accuracy. Feet drawing tutorial practice using bird reference provides similar grounding for dragon foot work.
Dragon Drawing Projects by Complexity
Project 1: Flying Dragon Profile
Start your dragon drawing projects with a clean profile view — wings spread, body horizontal, tail curved behind. The profile view eliminates most foreshortening complexity and lets you focus on proportions and silhouette. Establish the central body mass first as a curved cylinder, add the head with a specific neck curvature, attach the wing at the shoulder region, and add limbs and tail. Work in light pencil for all structural marks before committing to any contour or detail work.
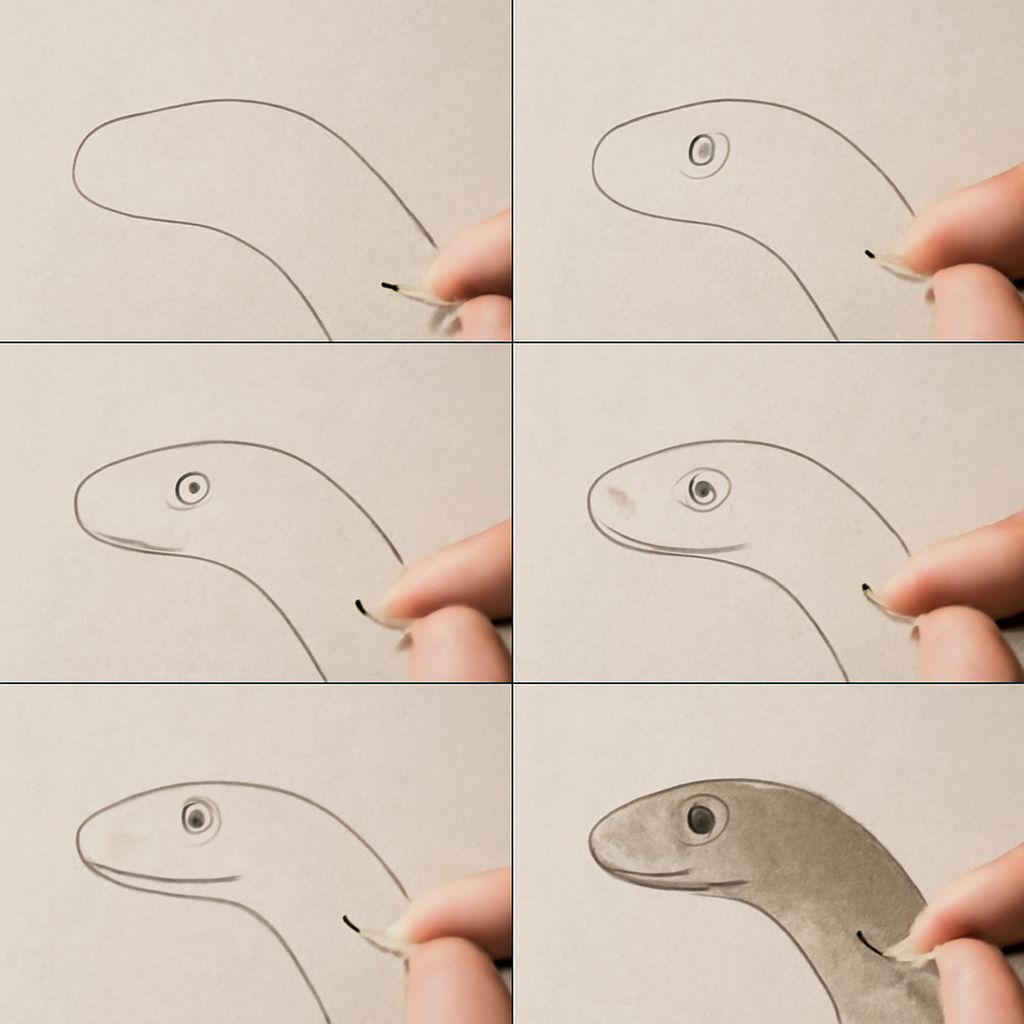
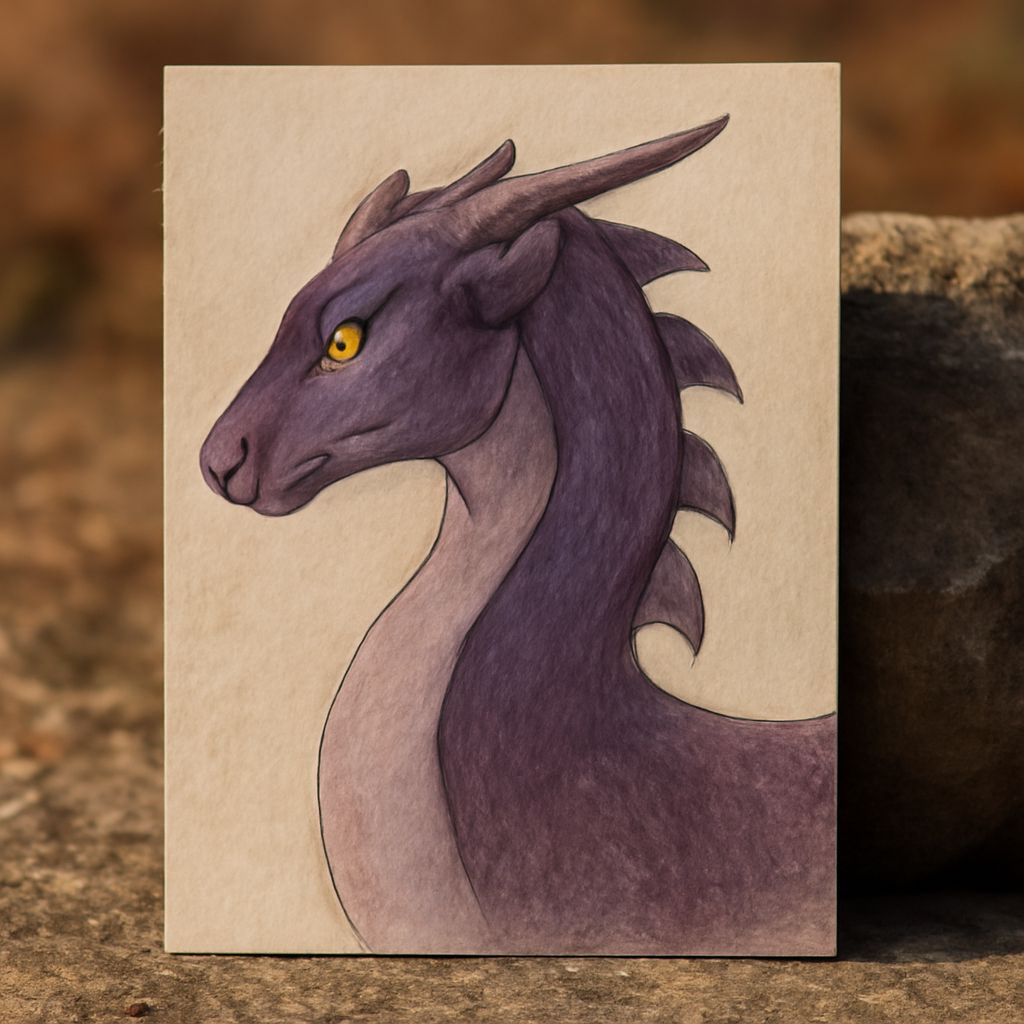
Project 2: Dragon Head Close-Up
A dragon head close-up is one of the most rewarding drawing projects in this genre because it allows for detailed surface work — horns, scales around the eye, nostril shape, teeth — within a manageable composition. Start with a basic egg shape for the skull, then attach the snout as a separate forward-projecting form. Eye placement, nostril position, and jaw line should all be established before any scale detail. The most common error in dragon head drawing is making the head too uniformly round — real predator skulls have distinct brow ridges, cheekbones, and jaw structure that give character.
Project 3: Dragon in a Complex Pose
The advanced drawing projects in this sequence involve dragons in dynamic, multi-plane poses — rearing up, coiling, in mid-flight banking turn. These require understanding how all the body masses relate spatially when the body curves through multiple planes simultaneously. Thumbnail multiple quick poses before committing to a final composition. Use overlapping to establish spatial order — masses in front overlap masses behind. Build from the gesture line through the masses through the surface details in sequence, and don’t add scales or surface detail to any section until the underlying structure is correct.
Hands, Fingers, and Feet as Dragon Drawing Practice
Drawing fingers is directly relevant to dragon claw drawing for a reason beyond just the visual similarity. The skill of drawing multi-segment articulated forms — knowing how to show the segments in different angles of bend, how to handle foreshortening at the fingertip, how to indicate knuckle definition with minimal line work — applies to every multi-digit extremity you draw. A drawing hand tutorial routine done three times a week will make your dragon claws more accurate than any amount of time spent copying other people’s dragon drawings.
Feet drawing tutorial practice using bird feet reference — particularly the digital arrangement of bird feet, which is structurally similar to dragon talon arrangement — builds the spatial reasoning for showing multi-toed extremities at various angles. Work from actual photographic reference of raptors and other birds rather than stylized illustration reference, because photographic reference will show you the actual three-dimensional relationships rather than another artist’s interpretation of them.
Surface Detail: Scales, Horns, and Texture
Scale rendering follows the same principle as all surface texture: you render the texture pattern, not every individual element. Draw the scale rows as organized rhythmic curves that follow the underlying cylindrical form, letting the viewer’s eye complete the individual scales from the pattern. Scales in lit areas have minimal detail; scales in shadow simplify to suggestion. Horns are essentially simple elongated cones — they shade like cylinders with a twist toward the tip. Study horn placement from dinosaur and rhinoceros reference to understand how horns attach to skull bone in convincing ways.