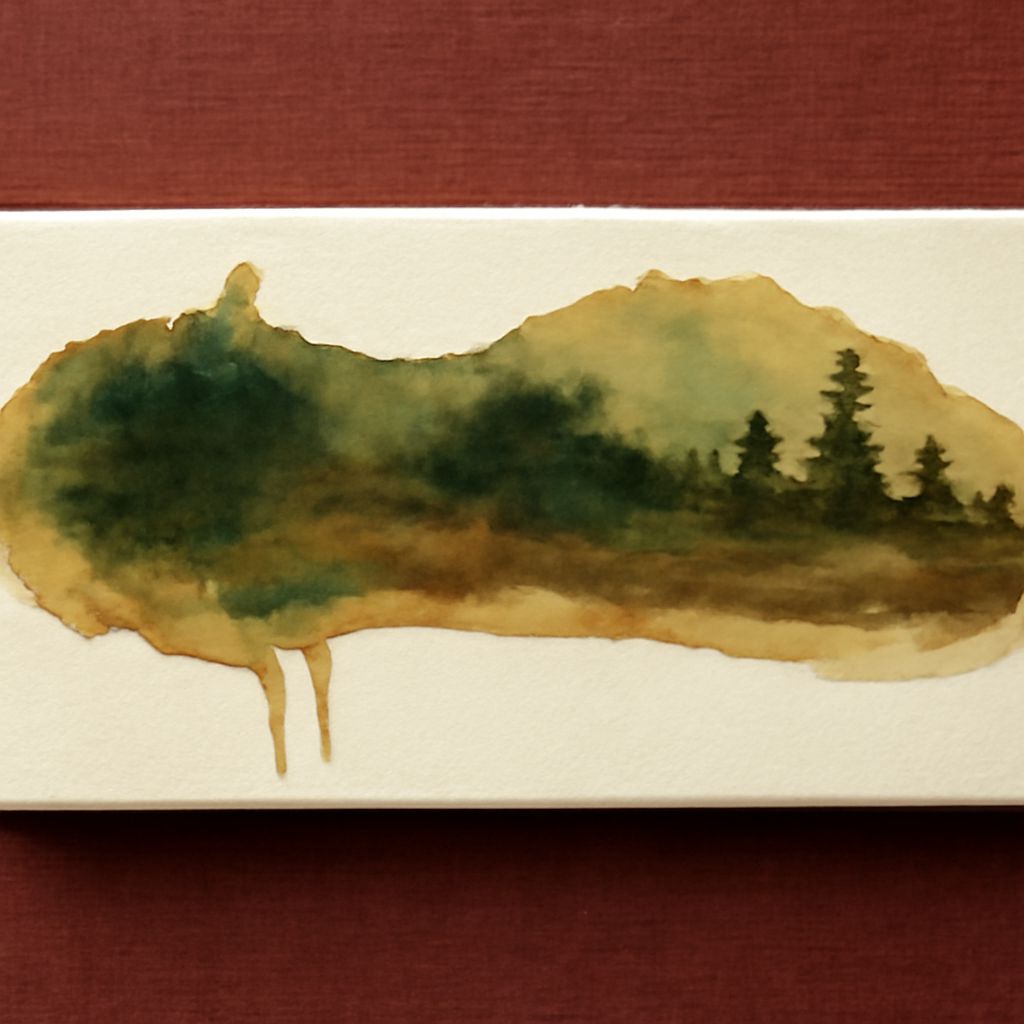
You have a stretched canvas, a handful of brilliant inks, and a picture in mind: translucent color spreading into soft, irregular edges. Before you put alcohol inks on canvas, prepare a small test surface. The ground beneath the color will determine whether those drops travel or disappear into the fabric.
A canvas painting with alcohol ink begins with an experiment in surface, flow, and finish. Make a sample alongside the piece, using the same canvas, ground, inks, and protective product. That small companion will let you see each layer at work before you commit it to the painting.
Alcohol Ink Painting on Canvas: Choose the Ground
Canvas is woven fabric. Even a commercially primed canvas can have an absorbent or textured surface, so its label alone does not tell you how a drop will behave. An absorbent ground draws liquid in quickly, holding color close to the place it lands. The result can be lovely and staining-like, but edges may stop abruptly and be difficult to move again.
A nonporous ground leaves more liquid near the surface, giving it room to spread and mingle. Ranger describes its alcohol inks as designed for nonporous surfaces; ordinary absorbent paper, by comparison, takes up the ink and limits its flowing effects. For alcohol ink on canvas, look for a smooth, nonporous coating whose manufacturer permits your intended ink and support. Confirm drying and curing times in its directions.
A slick finish is only part of the decision. The weave can leave tiny valleys that channel color, while a very smooth layer may allow a drop to travel farther than you expect. If the chosen coating requires several layers, apply them as directed and let each dry. Follow any preparation or sanding instructions from the manufacturer, and remove dust before adding color.
Build a Test Before the Painting
For a painting on canvas made with alcohol ink, prepare a spare piece of the same fabric or reserve a small canvas for trials. Label its sections with the coating and number of coats, then allow the ground to cure as directed. Test a drop of ink on each section and note how quickly it spreads, whether it beads, and whether its edge settles smoothly or follows the weave. For this medium, these observations are more useful than judging the wet color alone.
Try a second drop beside the first while it is wet, then repeat after the first has dried. Add a little of the ink maker’s compatible blending solution to another area. Watch whether it pushes the color outward, softens the edge, or lifts an earlier mark. Let the sample dry; some inks reactivate when more blending solution is added. A successful trial gives you a surface that holds together and responds in a way you can repeat.
When painting with alcohol inks on canvas, begin with a limited palette so you can see those interactions clearly. Put a few drops down rather than flooding the surface. Tilt the support gently to guide a pool, or use a hand-held air blower to direct the wet edge. Keep the canvas level when you want a pool to settle. Allow one area to dry before adding a neighboring layer if you want a more distinct boundary.
Control the Flow and Layer Color
The pace of alcohol ink painting on canvas changes with the amount of liquid you use. A small drop may form a concentrated ring; more blending solution can carry color into a paler, wider shape. Compare the two on your sample. A light pass opens space in a dark patch; too much liquid merges neighboring colors.
For a canvas alcohol ink painting with defined passages, leave dry areas between pools and approach an existing edge gradually. If you want colors to meet, touch a fresh drop to the wet edge and let it travel. Turn the canvas rather than chasing a moving pool with more ink.
Work in a well-ventilated space, away from flames and heat, and follow the safety instructions for your particular inks and solvents. Do not spray or airbrush the inks; Ranger warns that airborne alcohol ink is hazardous. Protect the work surface and keep containers closed when you are not dispensing from them.
Test the Protective Layer
Let your canvas painting in alcohol ink dry according to the ink instructions. Choose a finish whose maker lists compatibility with the ink and surface, and follow its application and curing directions. Products differ: Ranger’s FAQ recommends a water-based sealer for its alcohol inks, while Jacquard offers a varnish made for alcohol ink. Neither instruction establishes compatibility for every combination of products.
For an alcohol-ink canvas painting, divide the sample so that one painted area remains uncovered for comparison. Apply the proposed finish to another area as directed, including its recommended number of coats and drying intervals. Once cured, look for shifted edges, lifted color, cloudiness, stickiness, or an uneven sheen. A successful alcohol ink on canvas test preserves the marks and gives the appearance you want. Keep finished work away from direct sunlight; check the ink and coating makers’ display advice as well.
The most likely failure in a first canvas test is ink that sinks in and stops moving, leaving a dull, tight-edged stain. If a drop barely spreads compared with your nonporous reference, check for missed areas or insufficient coverage in the ground. Prepare a fresh sample with the coating applied as directed, let it cure, and repeat the drop test before returning to the painting.