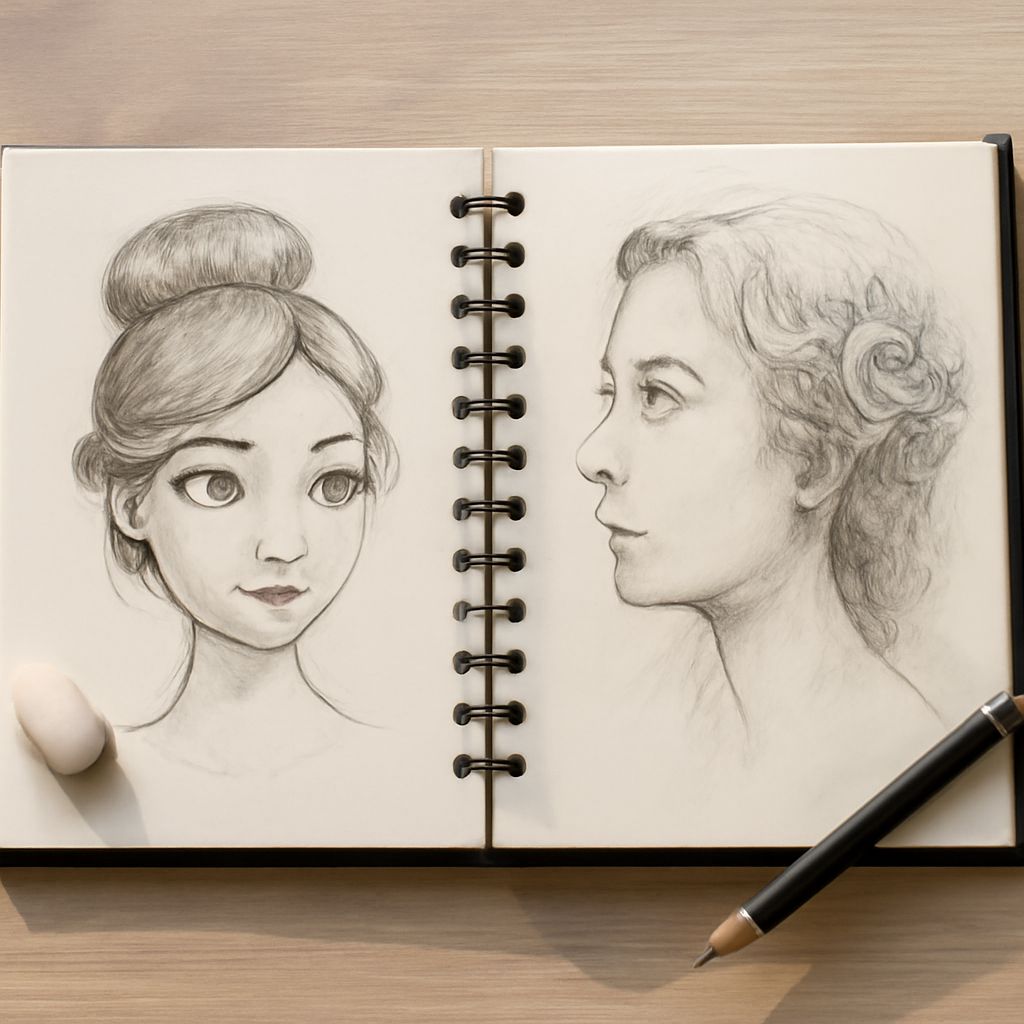
Acorn Drawing, Drawing Fundamentals, and Types of Pencils Used for Drawing
What makes an acorn drawing a useful exercise for beginners, and how does it connect to the broader drawing fundamentals that underpin all observational work? The acorn is a deceptively simple subject: two distinct geometric forms, the nut and the cap, joined at a clear transition point. Getting that junction right requires exactly the spatial thinking that drawing fundamentals courses use to build observation skills.
This guide covers how to draw an acorn from observation, introduces the core drawing fundamentals you need for all subjects, and explains the types of pencils used for drawing so you can choose the right tool for each stage of your work.
Drawing an Acorn Step by Step
Basic Shape Construction
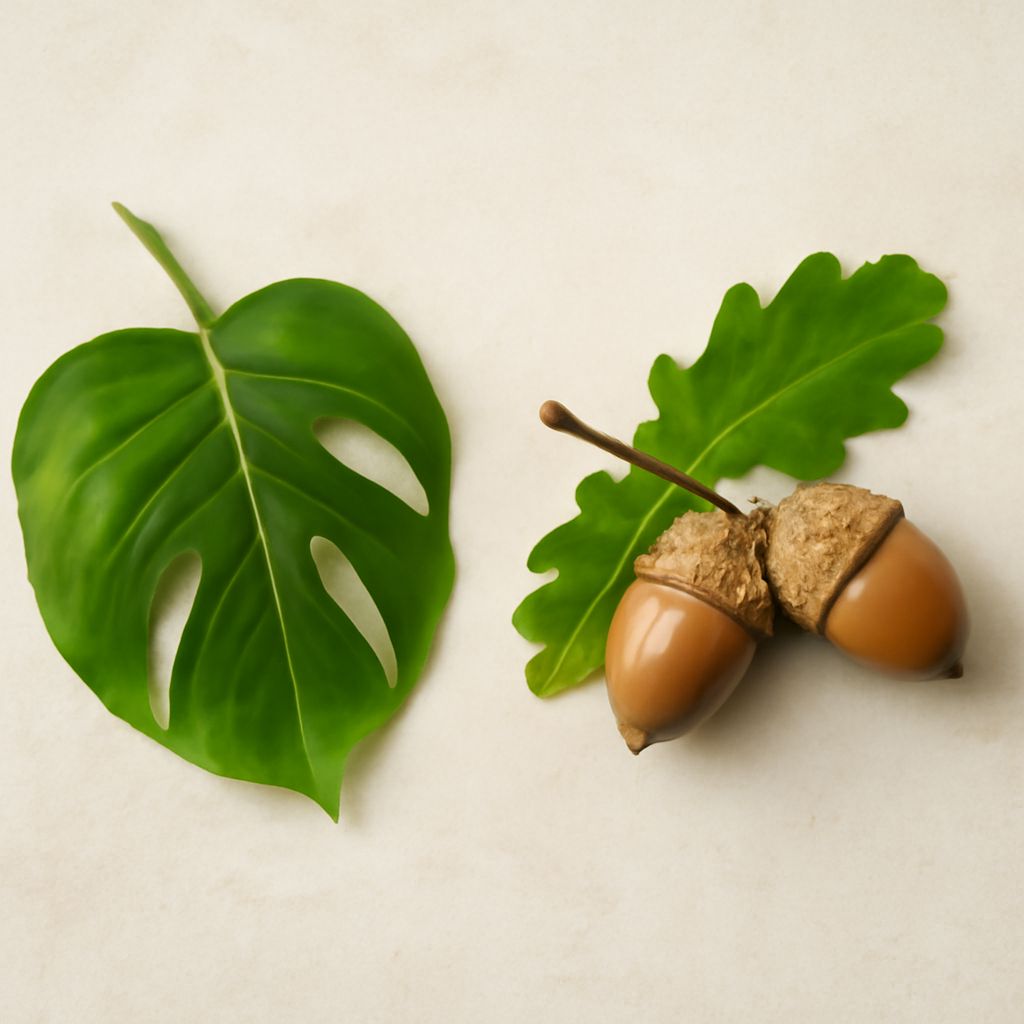
Start your acorn drawing with two simple shapes. The nut body is roughly egg-shaped or oval, wider at the bottom and tapering to a rounded point where it meets the cap. The cap is a shallow bowl shape that sits on top of the nut, roughly hemispherical with a textured surface and a short stem at its apex.
Draw these two shapes lightly first without worrying about the textured cap surface or the stem. Get the proportions right: the cap usually covers about one-third of the nut’s height. The cap’s brim flares out slightly beyond the nut’s width at the join line. Once those proportions feel correct, add the stem as a short, slightly curved cylinder rising from the cap center.
Adding Texture and Detail
The cap texture in an acorn drawing is made up of small, overlapping scale-like structures. Draw these as rows of short, curved marks that follow the contour of the cap surface. Each mark is a small arc, open toward the top, sitting in a roughly grid-like arrangement across the cap. The marks are closer together near the edges and slightly sparser near the center top where the stem joins.
The nut surface is smooth with only slight tonal variation from highlight to shadow. Use light hatching to suggest the roundness of the form rather than adding surface texture. Leave a clean highlight zone near the top where light would catch the glossy surface.
Drawing Fundamentals Every Artist Needs
The fundamentals of drawing come down to a small set of core skills that apply to every subject and every medium. Mark-making is the most basic: controlling line weight, pressure, and direction. Proportion is next: measuring and comparing sizes and distances across your subject. Perspective controls how three-dimensional space reads in a flat image. Value, the range from light to dark, is what creates the illusion of form and depth. Composition determines how elements are arranged within the picture plane.
Drawing fundamentals courses often use simple geometric subjects, the sphere, the cube, the cylinder, and yes the acorn drawing, precisely because these forms isolate individual skills without the distraction of complex subjects. Mastering the sphere teaches value rendering. Mastering the cube teaches perspective and edge quality. The acorn drawing combines both, requiring you to render two distinct surface types, smooth and textured, on forms that relate spatially to each other.
Types of Pencils Used for Drawing
Pencils are graded on a scale from hard to soft using H and B designations. H pencils (H, 2H, 4H, 6H) have harder graphite cores that produce lighter marks and are resistant to smudging. B pencils (B, 2B, 4B, 6B, 8B) have softer graphite that produces darker marks and smudges more easily. HB sits in the middle and is the standard pencil most people use for general writing.
For drawing, the types of pencils used for drawing typically span a range rather than a single grade. Hard pencils like H or 2H are good for light construction lines and guidelines that you want to keep off the final image. HB or B pencils work well for general sketching and mid-tone work. Soft pencils like 4B or 6B build up rich darks quickly and are useful for shading and expressive mark-making.
For an acorn drawing, you might use a 2H for the initial construction shapes, an HB for the main contour lines, and a 2B or 4B for the shadow areas and cap texture. Switching between grades as you move through different stages of the drawing keeps your marks from getting muddy and gives the final image more tonal range and clarity.