Daffodil Drawing: How to Capture the Beauty of Spring Flowers
Have you ever looked at a daffodil and wondered how to translate its delicate trumpet shape onto paper? A great daffodil drawing starts with observation — studying the flower’s layers, the way petals curve outward, and how light catches each fold. Whether you’re sketching outdoors or working from a reference, this guide covers everything from initial cabin drawing exercises that train your eye for structure, to understanding how section drawing techniques break complex forms into manageable parts.
You’ll also learn why sectional drawing methods help you understand the internal geometry of botanical subjects, and how to approach even a depressing drawing session — one where nothing seems to go right — with practical strategies that get you back on track. Flowers are patient subjects. The goal is to be patient with yourself.
Understanding Botanical Structure Before You Draw
Why Structure Matters in Flower Illustration
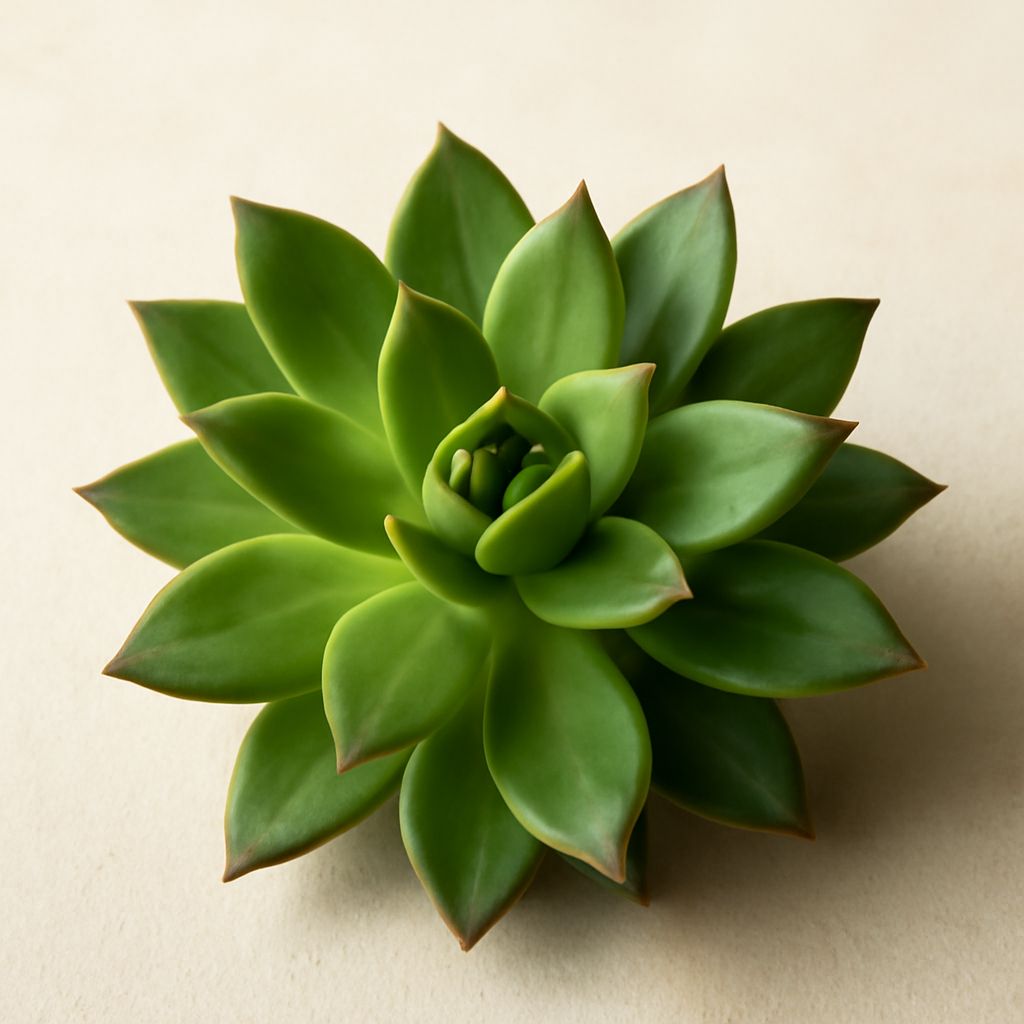
Before placing pencil to paper, spend a few minutes just looking. A daffodil has three main structural components: the outer petals (tepals), the corona (the central trumpet), and the stem with its sheathing leaves. When you treat this flower like an architectural subject — similar to how you’d approach a cabin drawing to understand its planes and angles — the result is far more accurate and confident.
Try rotating the flower to view it from different angles. Notice how the trumpet projects outward at varying depths depending on your viewpoint. Sketch quick gesture lines to capture the general pose before committing to detail.
Using Section Drawing to Map the Form
The section drawing approach involves mentally slicing the subject to understand its three-dimensional form. For a daffodil, imagine a vertical cross-section down the center of the bloom. You’ll see the corona’s hollow interior, the petal attachment points, and the depth of the flower’s cup. This kind of sectional thinking makes your marks more intentional.
Architects use sectional drawing to reveal what’s hidden inside a wall. You can apply the same logic to a bloom: draw a quick diagram showing how the trumpet sits inside the ring of petals. It’s a 30-second exercise that prevents the most common mistake — drawing a daffodil that looks flat and unconvincing.
Supplies and Setup for Daffodil Drawing
Choosing the Right Materials
For botanical illustration, a range of graphite pencils from 2H to 4B gives you full tonal control. Smooth bristol paper or hot-press watercolor paper holds fine detail. If you plan to add color, watercolor pencils blend beautifully over graphite and let you deepen shadows in the trumpet without losing the flower’s luminosity.
Keep a kneaded eraser on hand — it lifts graphite cleanly and lets you create soft highlights on the petals. A small ruler helps you check proportions without measuring formally.
Setting Up Your Reference
Place your daffodil in a slim vase at eye level. This gives you the clearest view of the trumpet’s depth. Natural light from a window at a 45-degree angle creates gentle shadows that define the petal ridges without harsh contrast. If you’re working digitally, the same principles of observation apply — reference photos work, but a live flower teaches you how a botanical subject behaves in three dimensions.
Step-by-Step Daffodil Drawing Process
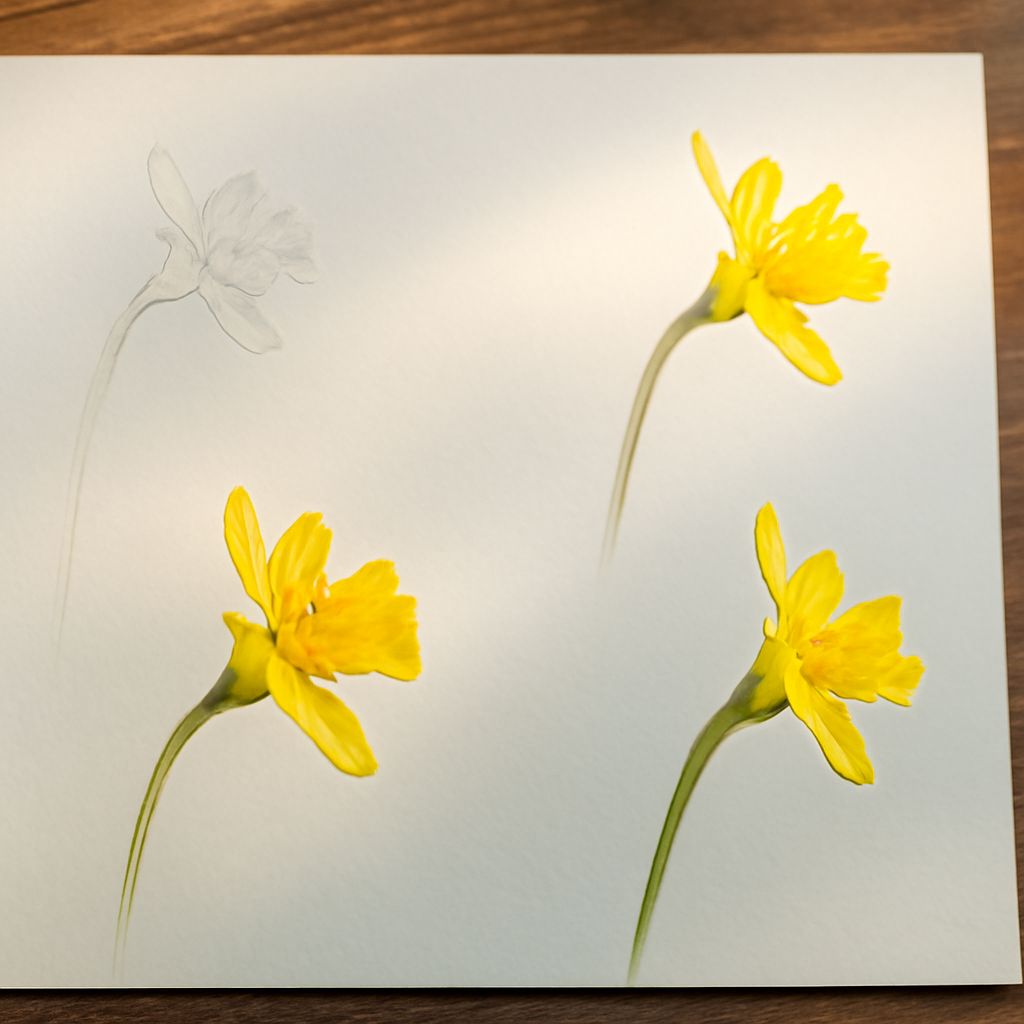
Blocking In the Basic Shapes
Start with a loose oval for the overall bloom and a vertical axis line for the stem. Then lightly sketch the six tepals radiating outward. Think of this block-in stage the way you’d begin a cabin drawing — rough planes first, details later. The trumpet sits at the center, so draw a small cylinder projecting forward from the oval’s middle. Keep pressure very light; these marks will be refined significantly.
Refining the Petals and Corona
Now define the individual petal shapes. Each tepal has a slightly different curvature depending on its position. The two inner tepals often overlap slightly. Use curved lines to suggest the gentle ruffling at the trumpet’s rim — this ruffled edge is one of the daffodil’s most characteristic features. Vary your line weight: heavier at shadow edges, lighter where petals catch the light.
Adding Tone and Depth
Build up tone in layers using hatching and blending. The inside of the trumpet is darkest — it recedes from the viewer. The outer surface of the petals catches the most light and should stay nearly white on your page. Use your 2B or 3B pencil for the mid-tones and a 4B for the deepest shadows inside the corona.
If you hit a wall — a moment where the drawing feels hopeless and nothing looks right — resist the impulse to abandon it. Even a frustrating, seemingly depressing drawing session teaches you something real. Set it aside for ten minutes, look at your reference again with fresh eyes, and return. Most artists find this reset genuinely works.
Common Mistakes and How to Fix Them
Ignoring the Trumpet’s Depth
The most common issue in daffodil drawings is a flat corona. If the trumpet looks like a simple circle rather than a projecting cup, go back to your section drawing notes. Redraw the ellipse at the trumpet’s opening using a slightly narrowed oval — this signals to the viewer that the cup is angled toward them and has real depth.
Stiff, Identical Petals
Each petal should look slightly different. In nature, no two petals are identical. Introduce small variations in edge curvature, slight overlaps, and asymmetrical shadow placement. This is where careful observational drawing — the same discipline you’d use in meticulous architectural studies — pays off in botanical illustration.
Taking Your Flower Drawing Practice Further
Once you’re comfortable with the daffodil, apply the same structural analysis to other subjects. The skills you develop — observational accuracy, understanding form through sectional logic, building tonal range carefully — transfer directly to every drawing you make. Try moving from simple single-bloom drawings to a cluster of three daffodils at different stages of opening. Varied stages let you explore how the trumpet changes shape as it matures, giving your sketchbook pages genuine visual variety and botanical interest.