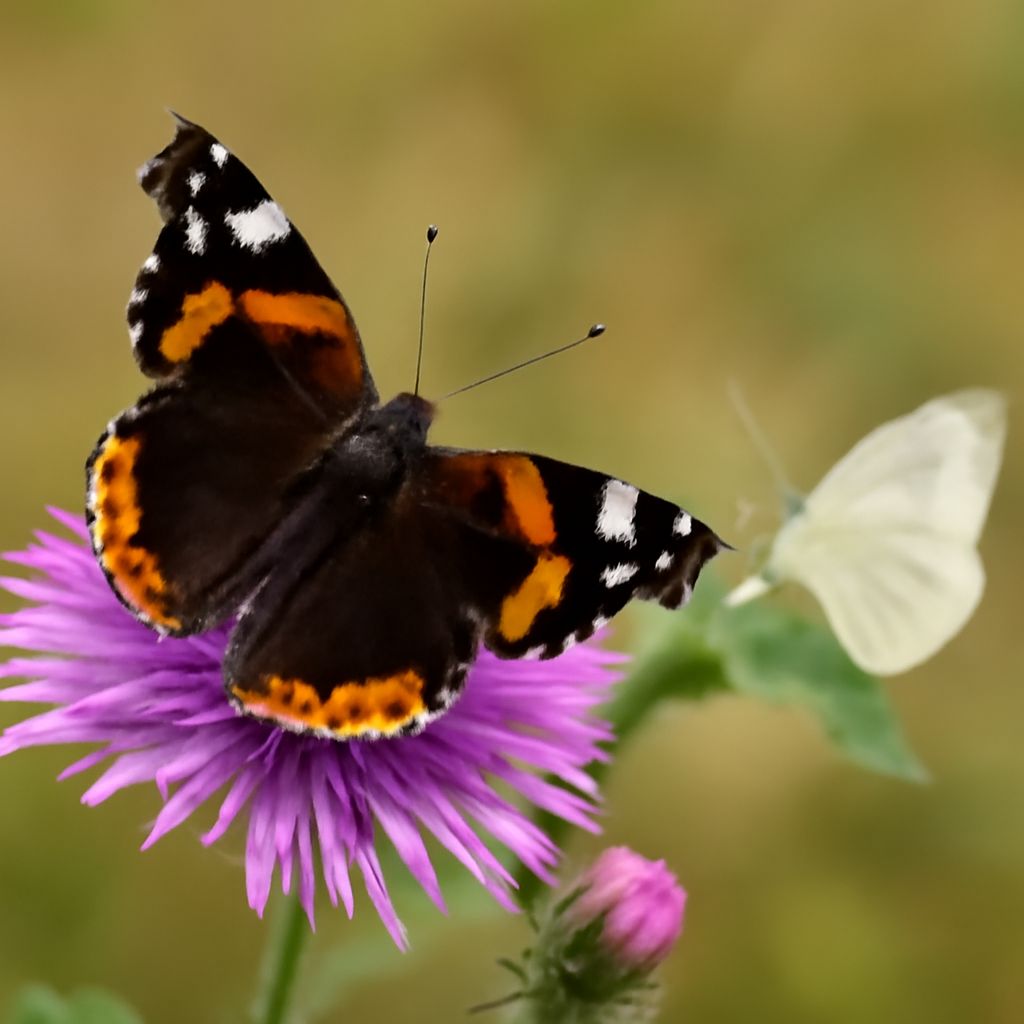
Is there a more iconic subject for a natural history illustration than the monarch butterfly? A monarch butterfly drawing challenges you to capture one of nature’s most spectacular color combinations — deep orange panels, jet-black veining, and crisp white spots along the wing margins — in a composition that feels both scientifically accurate and artistically alive. Whether you approach it as a butterfly sketch in graphite or dive straight into full watercolor butterfly techniques, this subject rewards careful observation with stunning results.
This guide walks you through the full process: from initial butterfly sketch to finished butterfly watercolor, with detailed advice on the specific challenges of rendering translucent wings and complex patterns. You’ll also find tips for building a series of watercolor butterflies that works as a cohesive portfolio or print collection.
Starting with a Butterfly Sketch
Reference and Proportion A strong butterfly sketch begins with quality reference material. Natural history museum collections, field guides like Kaufman Field Guides, and macro photography resources give you accurate proportions and wing pattern details that stylized illustrations often simplify too aggressively. The monarch’s wingspan typically ranges from 3.5 to 4 inches; note the specific shape differences between the slightly more angular male wings and the more rounded female wings.
Start your butterfly sketch with the body axis — a thin, segmented line from head to abdomen that anchors everything else. Then add the four wings: the larger forewing pair and the smaller hindwing pair. Use light guidelines to map the major veining pattern before committing to detail. This structural foundation keeps your monarch butterfly drawing proportional even as you add complexity.
Capturing Wing Venation
The monarch’s wing venation is its most distinctive structural feature and the key to making your butterfly sketch look authentic. Map the primary veins first, working outward from the wing base; secondary veins branch from these. The cells between veins create the compartmentalized pattern that holds the orange and black color areas. Accurate venation makes the difference between a generic butterfly and an immediately recognizable monarch.
Watercolor Butterfly Techniques
Laying the Foundation Before you add any paint to your watercolor butterfly, ensure your sketch is complete and your paper is properly stretched or taped down. Use a 140lb cold-press watercolor paper for the best balance of texture and smoothness. Lightly sketch the outline and major veining in pencil — lines light enough to vanish under the paint layers.
Begin the butterfly watercolor with a wet-on-wet wash of cadmium orange or a premixed warm orange across all the orange wing panels simultaneously. Working wet-on-wet at this stage creates soft, natural edges that mimic the way color gradients appear on actual wing surfaces. Let this foundation layer dry completely before proceeding.
Building the Black Pattern
The black veining and wing borders of a monarch butterfly drawing require crisp, confident edges — the opposite approach from the soft washes you used for the orange areas. Mix a rich, deep neutral black (ivory black or a blue-black combination) and use a fine-pointed round brush (size 2 or 4) to paint each vein and border shape individually. Work from the wing margin inward rather than from body outward.
Creating a Series of Watercolor Butterflies
A series of watercolor butterflies makes a compelling body of work for print sales, gallery submission, or portfolio building. To create visual cohesion across multiple pieces, standardize your palette, paper size, and compositional approach — then vary the species. The monarch butterfly drawing can anchor the series while swallowtails, blues, and fritillaries provide variety.
Consider presenting watercolor butterflies in two orientations: dorsal view (wings spread flat, as in a specimen box) and natural resting position (wings folded upright). The dorsal view shows the full wing pattern; the folded view reveals the subtly different underside coloration that many artists overlook but that collectors find particularly appealing.
Bottom line: A well-executed monarch butterfly drawing blends scientific accuracy with painterly sensitivity, making it a perennial favorite among collectors and nature art enthusiasts alike. Master the structural butterfly sketch foundation before moving to butterfly watercolor work, and your results will improve dramatically. Build toward a complete series of watercolor butterflies to demonstrate both range and consistency to potential clients or gallery curators.