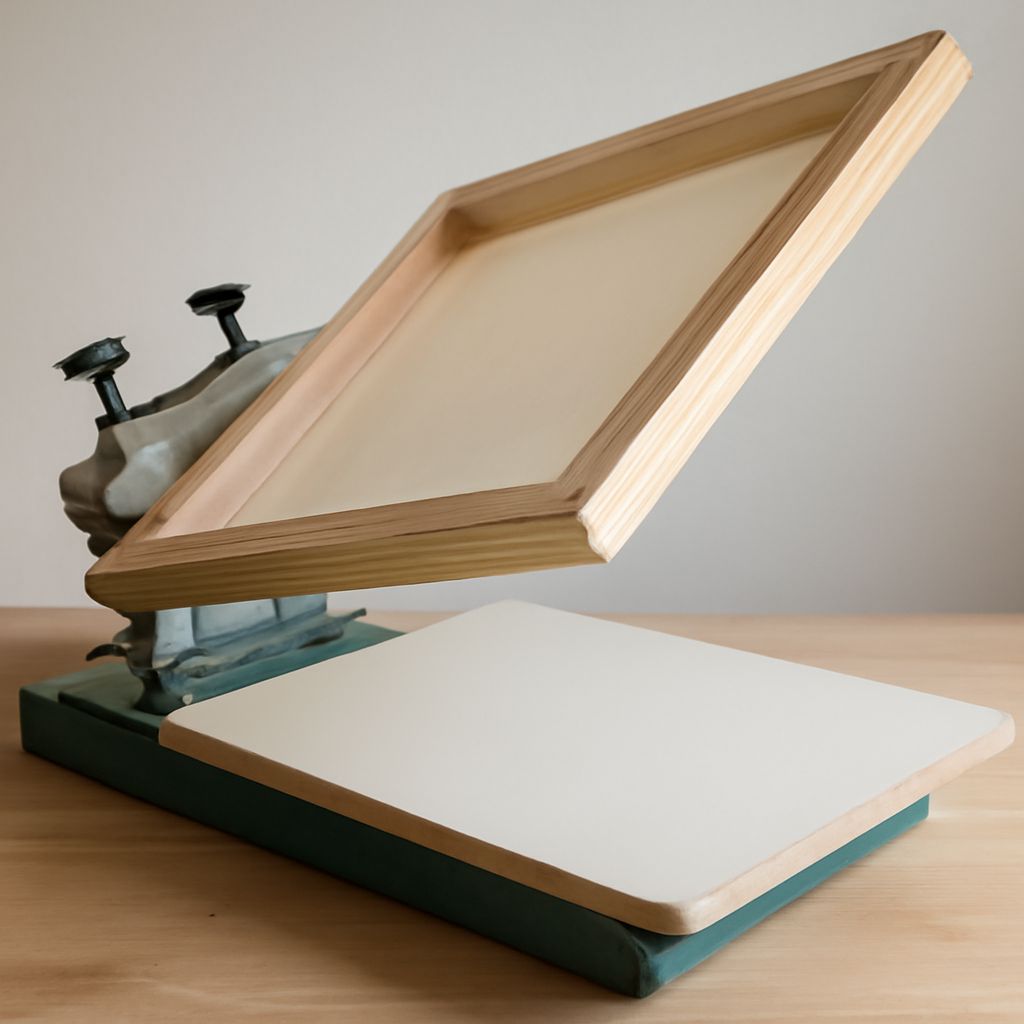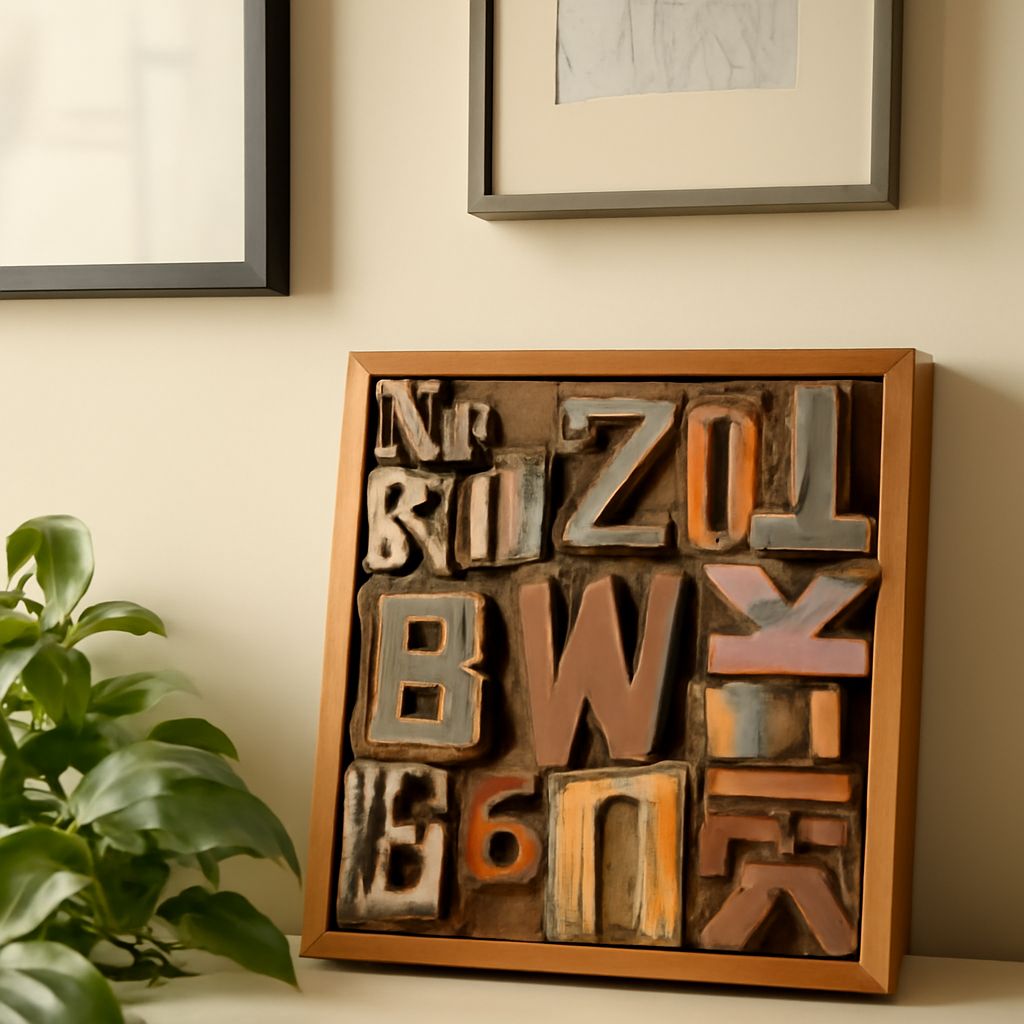
A sheet meets an inked surface under pressure, and a drawing becomes something you can hold. That moment is the heart of printing with a letterpress: raised areas carry ink to paper, while the lower areas generally stay clear.
To understand what a letterpress is, picture a stamp with a carefully controlled meeting between surface and sheet. The result can be subtle or tactile, depending on the paper, artwork, and pressure.
What Is Letterpress? A Surface That Does the Work
The short answer to what is letterpress printing is relief printing with a press. The image sits higher than the surrounding surface. Ink reaches those raised areas, and pressure transfers it to the sheet. The finished letterpress print is the physical impression you can pick up; the process is the sequence that makes it.
Historically, printers assembled movable metal type and used carved blocks for images. Today, a design can also become a raised photopolymer plate. The Library of Congress glossary identifies both traditional type and modern plates among the relief surfaces used for this work. Whichever surface you choose, the image has to read correctly when transferred to the paper. This is what a letterpress is built to do: repeat an image from a prepared surface.
Thinking about what a letterpress is also means thinking about contact. A raised line receives ink; a recessed gap gives the paper a place to remain unprinted. This simple relationship shapes the artwork long before a sheet reaches the press.
Follow a Sheet Through the Press
For printing on a letterpress, the printer secures the type or plate, applies ink to the raised surface, and brings paper and image together under controlled pressure. A letterpress impression can show both ink and a slight indentation. The printer examines a proof and adjusts the setup before running the edition. Ink coverage, alignment, and the impression in the paper are all visible on that proof.
A press may use a flat platen or a cylinder to make contact. Historical hand-press work involved inking prepared type before pressing it against paper, as the Library of Congress describes. Modern equipment and materials offer different ways to prepare an image, but the raised surface still does the transferring.
If you are wondering how printing on a letterpress works with two colors, imagine repeating the trip through the press for each color. Each pass needs its own inked image and careful registration: the alignment that places one color where it belongs relative to the other. Allowing a little space between colors can make a first project more forgiving than asking two fine edges to meet exactly.
Design for Contact
Start with a one-color drawing or a short piece of lettering. Give fine lines enough substance to hold together, and leave open space inside small shapes so they can remain distinct. Tiny reversed letters, where the paper shows through a dark field, deserve particular attention: if the gaps are too narrow, ink can close them up.
Ask your printer for the minimum line and gap sizes suited to the chosen plate, paper, and press. Then inspect your artwork at its actual printed size. A flourish that looks spacious on a monitor may become a crowded knot on a small card. A proof can reveal where to simplify a detail before the full run.
Large solid areas present a different challenge. Even coverage across a broad shape may require more adjustment than a design built from lines and smaller forms. For printing with a letterpress, plan a simple mark with breathing room and discuss the intended size with the printer.
Choose Paper and Impression Together
Paper gives the ink a surface and gives your hand something to notice. A smooth sheet can support crisp detail; a more textured one can contribute character while making an even ink film harder to achieve. Thick, soft paper can show an indentation more readily than a firm, thin sheet. Ask to see samples of both paper and printed work, then choose with the design in front of you.
Depth is a design decision, not a measure of whether the ink transferred. For letterpress printing, describe whether you want a light touch or a visible impression, and ask the printer what the selected paper and artwork can accommodate. A deep impression may affect the reverse of the sheet, which matters if you plan to print on both sides.
Once you see what a letterpress is capable of, consider the object itself. A card needs room for handling and trimming; a small art print needs margins that frame the image. Order extra sheets for setup and agree on the finished quantity before production.
First-Print Checklist
Before sending artwork for printing with a letterpress, gather these decisions:
- Set the finished dimensions and leave a margin around the image.
- Supply clean, high-contrast artwork; confirm line and gap limits with your printer.
- Choose the number of colors and mark how they should align.
- Select paper for its surface, weight, and intended use; request a sample.
- Specify the desired impression and whether the reverse must stay clean.
- Review a proof for legibility, coverage, alignment, and spelling before the run.
Once you know how printing on a letterpress works, these choices turn a drawing into a practical plan. Keep the first one simple enough that you can enjoy the small surprise of ink meeting paper.