A poster can fit comfortably on a table and still be too large for the screen that prints it. Before choosing a screen-printing setup, measure the image, the full sheet, and the outside of the frame. Those three dimensions govern different parts of the job—and the space your press will occupy.
Screen print press choices start with the work
A screen print press holds a framed mesh screen in position while you pull ink through a stencil with a squeegee. For a multicolor print, each color needs its own stencil and must land in the right place on the sheet. That alignment is called registration. Even a small shift can turn a crisp edge into an unwanted halo.
Start with your largest intended paper size and image, then allow clear space inside the screen for the squeegee and ink. The maximum image area, table size, and maximum outside frame size are separate specifications. A screen print machine that accepts your frame may still have a print area too small for your design. Leave room around the equipment for lifting the frame, handling sheets, and drying prints.
For example, an image measuring 10 by 16 inches fits inside a stated 12-by-18-inch maximum print area, but a 12-by-18-inch image leaves no spare room within that stated area. Also check whether the full sheet fits the table and can be placed against guides; do not infer sheet capacity from image capacity alone.
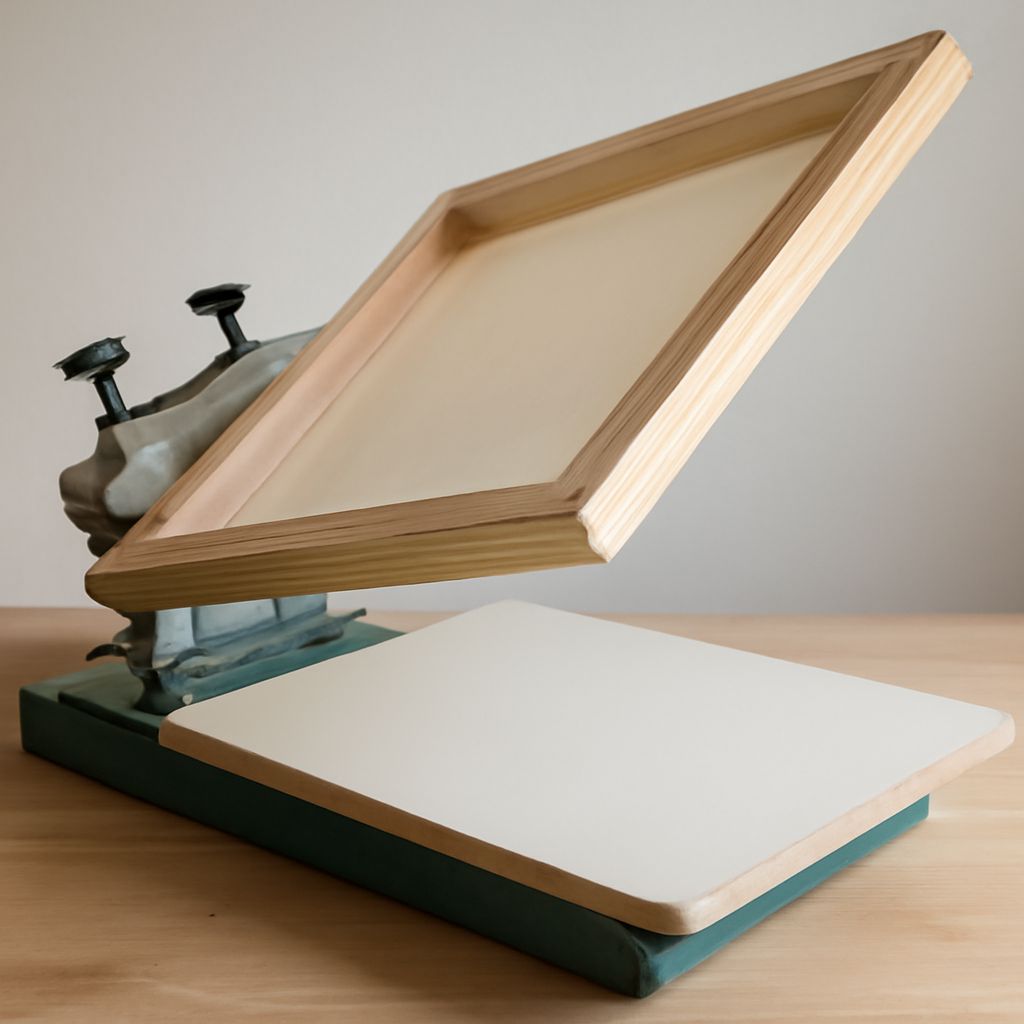
A hinged screen for a small studio
Two hinges attached to a sturdy, flat board can hold a screen as you lift it to remove a sheet and lower it for the next pull. Speedball’s instructions describe hinge clamps fixed to a print surface; their job is to hold the frame while allowing it to pivot. Add simple registration tabs to locate the same paper edges each time.
This screen-printing press setup is a good fit for modest editions and a tight workspace. For each new color, replace and align the screen with a test sheet before printing the edition. A transparent overlay with registration marks can help you see whether the new stencil meets the previous layer. The process takes patience.
A screen-printing machine for purchase is not essential for this first setup: budget for a suitable frame, squeegee, ink, paper, exposure method if using photo emulsion, and a place to wash out the screen.
A flatbed with vacuum for repeated sheets
A flatbed screen-printing machine gives the paper a level surface beneath the screen. On a vacuum model, suction through the bed helps hold a sheet in place as the screen lifts. Paper guides still matter: suction holds the sheet where you put it; it does not locate the sheet for you.
For a concrete example, AWT lists its Screen-Eze SE-1218M with a 12-by-18-inch maximum print area, a 16-by-22-inch table, a 22-by-26-inch maximum outside frame, and micro-registration for fine alignment. The listed U.S. electrical version uses 110 volts. AWT also lists a no-vacuum version, so the suffix on a machine offered for screen printing matters when comparing equipment.
Micro-registration provides small adjustments to align a screen; it does not replace careful paper guides or test prints. If you regularly print layers with narrow gaps, this kind of screen-printing press can make setup more controlled. If you make only a few loose, one-color editions, the vacuum and adjustment hardware may add less value than a larger screen and drying rack.
Larger work and garment presses
A larger flatstock screen-printing press for sale may be attractive when your sheets or runs outgrow the tabletop. AWT’s Seri-Glide, for example, is a manual squeegee unit with a vacuum table and counterbalanced screen holder; the manufacturer lists print areas starting at 35 by 45 inches. Its scale calls for room to load large sheets, lift the screen, and move wet prints to drying racks. Larger or automated flatbed equipment can reduce repeated manual handling, but compare electrical needs, installation, service, and access before treating speed as a benefit.
A garment carousel solves a different production problem. Its arms hold multiple screens over a platen designed to support a shirt. The Riley Hopkins 150 four-color, one-station model is a bench-mounted example with a 16-by-16-inch platen shaped for garments and a stated 60-inch diameter. Four colors describe screen positions, not four paper sheets printed at once. Some textile presses can be adapted for flat stock with suitable accessories, but a dedicated flatbed can be the more direct match for large paper editions.
Compare the complete workflow
When looking at a screen printing machine for sale, check what is included: frame clamps, vacuum source, registration controls, stand, and electrical connection can differ by model. Ask for the maximum image area, maximum frame dimensions, and usable table size in writing. A used screen-printing machine may need replacement parts or adjustment; bring your frame dimensions and inspect how securely the screen returns to position.
Make a test print on the paper you intend to use. Mark guides, pull one color, let it dry, and register a second color against it. Look for slipping sheets, uneven ink, and drift between impressions. A screen print machine is only one part of the studio: storage for screens, a washout area, ink cleanup, and enough drying space all affect how easily an edition moves from first pull to last.
Choose the simplest setup that fits your largest regular sheet and gives you repeatable registration at the edition size you actually print.