Have you ever wondered how artists make drawing animals look so effortless? Do you find yourself struggling to capture the essence of a furry friend or a majestic bird? If so, then step by step animal drawings might be exactly what you need. Whether you’re a beginner looking to improve your skills or someone who wants to master drawing animals step by step, this guide will help you explore easy animal drawings step by step, turning the complex into the manageable.
Step by step drawing animals can be an incredibly effective approach for artists of all levels. By breaking down the process into manageable parts, you gain a clear understanding of each element, from basic shapes to detailed features. No matter your skill level, starting with easy animal drawings step by step allows you to build confidence and skill gradually. Read on to discover how you can master drawing animals step by step with our comprehensive guide.
Introduction to Step by Step Animal Drawings
Why Step by Step is Effective
Step by step drawings serve as a roadmap for creation. By dissecting an image into smaller, more digestible parts, you learn to focus on each component without feeling overwhelmed. This methodical approach to drawing animals step by step ensures precision and a structured learning path. You’ll find yourself less intimidated by complex subjects as you gradually build up the details.
Benefits of Drawing Animals Step by Step
The key benefit of drawing animals step by step is the clarity it brings to your creative process. With each step, you gain a deeper understanding of perspective, proportion, and the unique characteristics of each animal. This method also encourages you to focus on the accuracy of lines and shapes, ultimately leading to more realistic and confident sketches.
Essential Tools for Easy Animal Drawings Step by Step
Choosing the Right Pencils
Your choice of pencils can significantly impact your drawings. For easy animal drawings step by step, start with a range of pencils from HB to 6B. The harder pencils (HB, 2B) are perfect for sketching basic outlines, while the softer ones (4B, 6B) are ideal for adding depth and shading.
Paper and Erasers
The type of paper you choose can affect the final outcome of your artwork. Opt for a smooth, heavyweight paper that can withstand erasing and layering without damage. Additionally, a good-quality eraser will help you correct mistakes easily, ensuring your journey of drawing animals step by step is smooth.
Optional Tools for Enhanced Drawings
While pencils and paper are essential, other tools like blending stumps, kneaded erasers, and fine liners can enhance your drawings. These additional tools allow for more detailed work and can be particularly useful when working on easy animal drawings step by step for a polished finish.
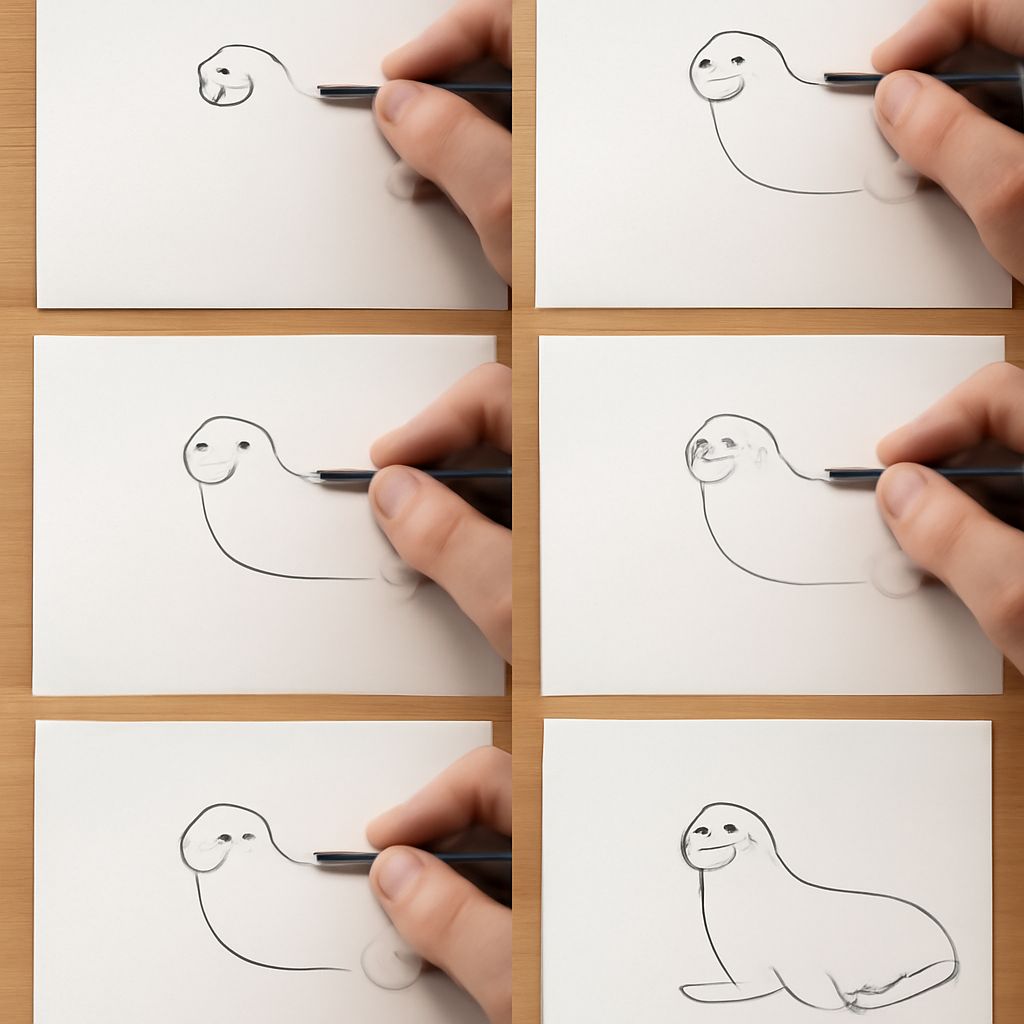
Step by Step Drawing Animals: Popular Methods
Grid Method
The grid method is a time-tested technique that involves drawing a grid over your reference image and your drawing surface. By focusing on one square at a time, you maintain proportions and easily manage complex animal forms. Using this method for drawing animals step by step can significantly improve accuracy and symmetry.
Contour Drawing
Contour drawing encourages you to capture the outline and major features of an animal without lifting your pencil. This practice enhances your observational skills and helps you become familiar with the animal’s form. It’s an excellent way to approach easy animal drawings step by step, focusing on detail and shape.
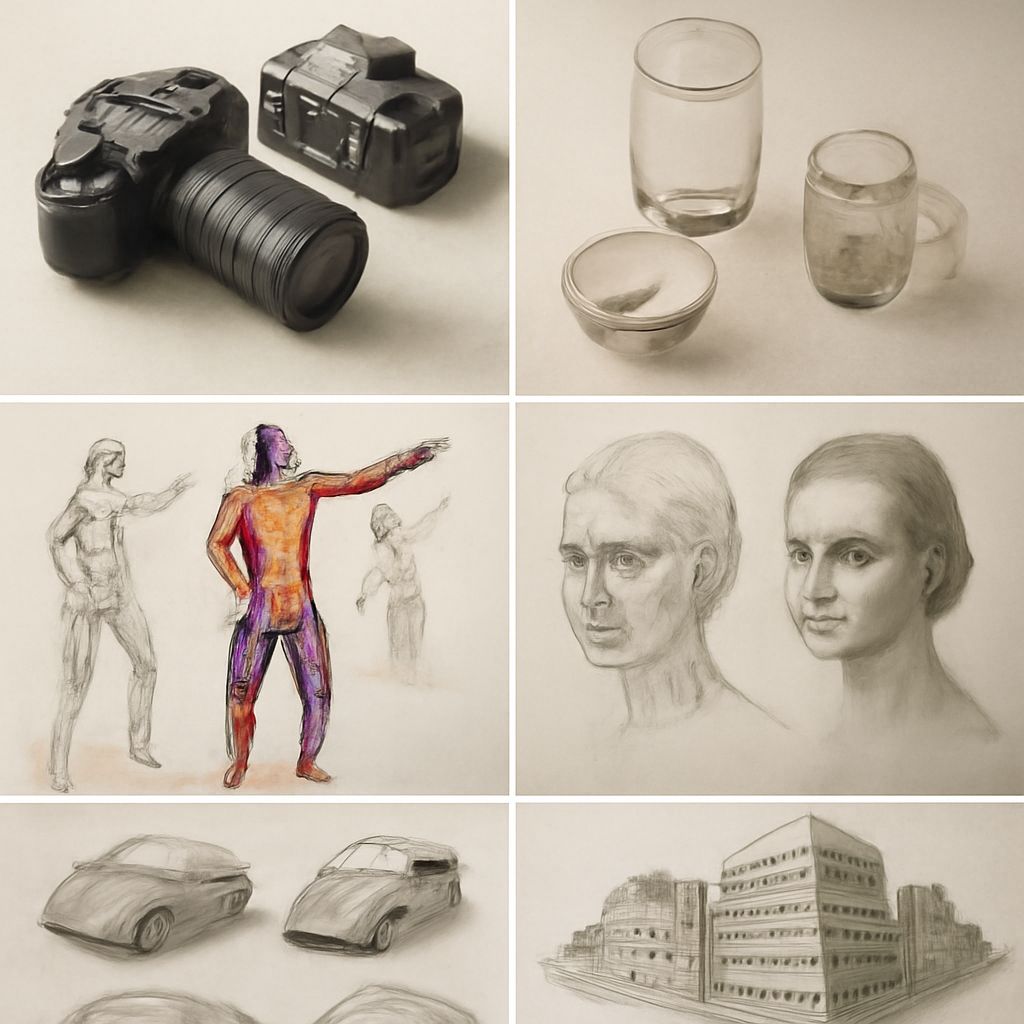
Shape Building
Shape building involves breaking down an animal into simple geometric shapes, such as circles, ovals, and triangles. This method simplifies the drawing process, allowing you to gradually add complexity. Shape building is an effective way to approach drawing animals step by step, as it provides a clear structure from beginning to end.
Step by Step Animal Drawings: Easy Projects
Drawing a Cat Step by Step
Start by sketching a circle for the head and an oval for the body. Gradually add triangles for ears and lines for the legs and tail. Refine the features by adding eyes, nose, and whiskers. This methodical approach to drawing a cat step by step helps you focus on each detail, creating a lifelike representation.
Drawing a Dog Step by Step
Begin with a large oval for the body and a smaller one for the head. Add rectangles for the limbs and a shape for the snout. As you progress, incorporate details like fur texture and facial features. This step by step approach ensures that you capture the unique characteristics of a dog.
Drawing a Bird Step by Step
Draw an oval for the body and a circle for the head. Include a line for the beak and arcs for wings. Add layers to the feathers and define the tail. This method of drawing a bird step by step allows you to capture the grace and elegance of avian creatures.
Tips for Drawing Animals Step by Step
Practicing Patience
Patience is key when drawing animals step by step. Take your time with each section, and don’t rush the process. The more time you invest in understanding each step, the better your final piece will be.
Analyzing Animal Anatomy
Understanding the basic anatomy of animals helps you create more accurate drawings. Study reference images and observe how different animals move. This knowledge will enhance your ability to execute easy animal drawings step by step.
Incorporating Shading and Texture
Once you’ve mastered the basic shapes, add depth to your drawings with shading. Learn to use different pencil pressures to create texture and contrast, bringing your step by step animal drawings to life.
Conclusion: Mastering Animal Drawings Step by Step
Mastering the art of drawing animals step by step takes practice and dedication. By following structured methods and focusing on individual elements, you can transform complex subjects into accessible projects. With patience and the right tools, you’ll find that easy animal drawings step by step become a delightful and rewarding experience.