Why are hands considered the hardest body part to draw convincingly? The answer lies in their structural complexity — 27 bones, dozens of tendons, and a dense network of hand nerve anatomy that controls every subtle movement from a relaxed open palm to a precise pinch grip. Mastering 3d hand drawing requires understanding that complexity rather than avoiding it. Surprisingly, studying python anatomy offers artists fresh insights into simplified skeletal thinking that transfers back to human hands. And once you understand how your own hand moves, the choice between hand lettering vs calligraphy becomes a question of physical technique as much as artistic preference. This guide covers all of these threads and gives you a practical path through each.
You’ll find that the more you understand about structure, the freer your drawing becomes. Technical knowledge removes guesswork and replaces it with informed decisions at every stage of the sketch.
Why 3D Hand Drawing Starts with Anatomy
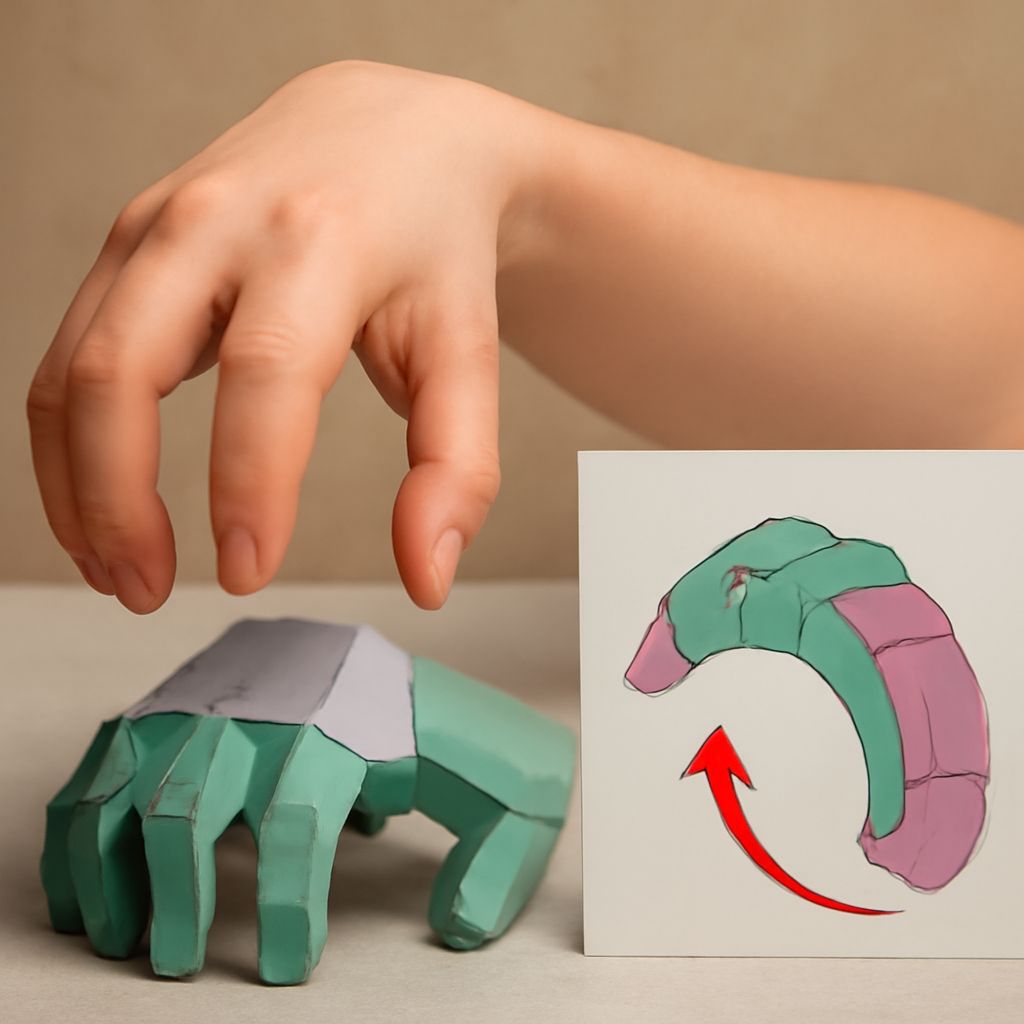
The fundamental challenge of 3d hand drawing is rendering a three-dimensional form on a flat surface in a way that communicates volume, weight, and movement. Most beginners draw hands as flat shapes — outlines filled with surface detail — which produces stiff, unconvincing results. Three-dimensional hand drawing starts instead with the underlying structure: the metacarpal fan, the knuckle ridge, the arch of the palm that separates the thumb side from the little-finger side.
Treat each finger as a cylinder with three distinct segments separated by knuckle joints. When the hand curls, those cylinders rotate around their joint axes — the same mechanical logic as any hinge. Understanding that mechanism gives you the ability to draw 3d hand drawing poses from imagination rather than relying entirely on reference photographs.
Hand Nerve Anatomy and Its Impact on Drawing
Hand nerve anatomy divides the hand’s sensory and motor control among three primary nerves: the median, ulnar, and radial nerves. The median nerve controls the thenar muscles at the base of the thumb — the fleshy mound that gives the thumb its powerful grip and opposition. The ulnar nerve controls the hypothenar muscles on the little-finger side and the interosseous muscles that spread the fingers. The radial nerve handles sensation along the back of the hand.
Understanding hand nerve anatomy matters to artists because nerve injuries produce specific, visible posture changes. An ulnar nerve injury creates a ‘claw hand’ where the ring and little fingers curl inward. A median nerve injury flattens the thenar eminence, making the thumb appear weak and structurally different. If you draw figures who have experienced hand trauma — historical figures, injured workers, or characters in narrative illustration — knowing these anatomical consequences makes your work more accurate and more emotionally resonant. Hand nerve anatomy also explains why certain grips feel natural and others produce fatigue, which directly affects how you hold a pencil or pen during long drawing sessions.
Python Anatomy: What Snake Structure Teaches Artists
Python anatomy at first glance seems unrelated to hand drawing, but the simplification principles transfer usefully. A python’s skeleton is essentially a spine with hundreds of uniform rib pairs — there are no limb bones, no complex joints, no hand structure at all. Studying python anatomy forces you to see pure segmental rhythm, consistent curvature, and how a long form moves through space using only gentle arcs.
The lesson for hand drawing: look for the rhythmic curves that connect segments rather than treating each bone as isolated. The four fingers of a closed fist form a curve when you connect their tips — that curve is the python’s spine translated into hand structure. Python anatomy also demonstrates how surface scales (analogous to skin texture and wrinkle lines) follow the underlying geometry rather than appearing randomly. Apply that principle to hand drawing: wrinkles at knuckles follow the crease of the joint beneath them, not decorative instinct.
How to Draw a Relaxed Hand Convincingly
A relaxed hand drawing is arguably harder than a gripping hand because the subtle, irregular curl of relaxed fingers resists the brain’s tendency to draw what it ‘knows’ — evenly spaced, equally curved fingers that look wooden and artificial. In a genuinely relaxed hand drawing, each finger rests at a slightly different angle of curl. The index finger typically extends more than the others; the little finger curves most deeply. The thumb points away from the palm at roughly 45 degrees when fully relaxed.
Practice relaxed hand drawing by resting your non-dominant hand on a flat surface and sketching it without adjusting your fingers. The pose you get is authentic relaxation — use it as your reference template. Notice how the knuckles disappear when the hand is flat, and how the skin folds at the inner finger joints create shadow even in an open, relaxed hand drawing pose.
Hand Lettering vs Calligraphy: Key Differences
The hand lettering vs calligraphy distinction confuses many beginners because both involve creating beautiful letterforms by hand. The core difference is this: calligraphy uses consistent tool strokes — typically a broad-edge nib or brush held at a fixed angle — to create letterforms where thick and thin strokes result from the tool’s geometry rather than deliberate pressure variation. Hand lettering constructs letters as illustrations, drawing and refining each letterform as an individual artwork.
In the hand lettering vs calligraphy comparison, neither approach is superior — they serve different purposes and reward different skills. Calligraphy develops rhythm, consistency, and a deep understanding of historical alphabets. Hand lettering develops compositional thinking, custom type design sensibility, and versatility across styles. Many artists practice both. Your hand anatomy, grip strength, and fine motor control affect both practices — which is why understanding hand nerve anatomy and maintaining proper relaxed hand posture during practice sessions directly improves your lettering quality over time.
Putting It All Together: Practice Strategies
Connect these disciplines in your sketchbook. Dedicate one session per week to anatomical hand studies — bones first, then muscles, then surface. Use your non-dominant hand as a live model. Spend another session on relaxed hand drawings from observation, varying the angle and lighting each time. When practicing lettering, alternate between calligraphy exercises and hand lettering construction to build fluency in both modes. Study python anatomy drawings from natural history references to train your eye for segmental rhythm, then translate that rhythm into your hand poses. The disciplines reinforce each other more than they compete.