Drawing Compass Techniques and Creative Tools for Every Artist
Have you ever wondered how a single tool can bridge precise technical work and playful artistic expression? A drawing compass does exactly that — it gives you the ability to create perfect circles, arcs, and curves that anchor everything from geometric diagrams to character illustration. Whether you want to practice drawing kawaii figures with rounded, satisfying shapes or explore real-world visual storytelling examples through structured layouts, the compass belongs in your toolkit. This guide covers orthographic drawing examples, fashion sketching with drawing shirts, and much more.
You don’t need advanced training to get results. With a quality drawing compass and a clear process, you can work on kawaii-style art in the morning and switch to technical orthographic projects in the afternoon. The skills transfer remarkably well because circles and arcs underlie almost every style of illustration.
Getting Started with a Drawing Compass
Choosing the Right Drawing Compass
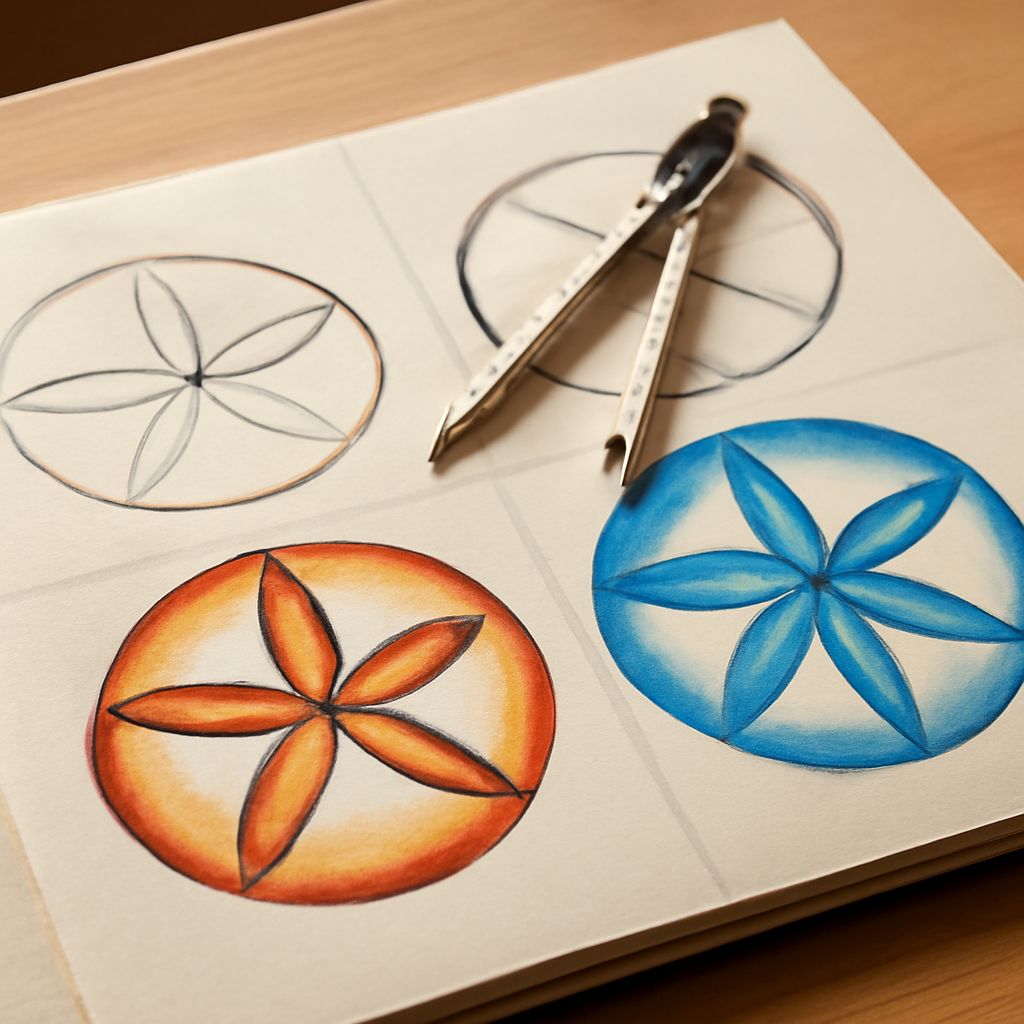
When you pick up a drawing compass for the first time, look for a model with a locking hinge. This keeps the legs steady at your chosen radius so your circles stay consistent across a whole page. Bow compasses offer fine-tuned adjustment, while basic student compasses cover everyday needs at a low cost.
Types of Compasses for Precision Art
Beam compasses extend your reach for large-scale work like poster layouts or architectural diagrams. Proportional dividers split distances evenly and pair beautifully with compass work in orthographic views. For digital artists, vector tools mimic a drawing compass with parametric circle generators.
Setting Up Your Workspace
Anchor your paper to a smooth, firm surface before drawing. A slight tilt on your board can throw off your circles. Keep spare compass leads — a harder grade gives crisp outlines while softer leads suit expressive, gestural curves.
Drawing Kawaii Characters with Circular Forms
Applying Compass Curves to Kawaii Faces
The hallmark of drawing kawaii is the oversized, perfectly round head. Set your compass to about one-third of your total figure height and draw the head circle first. From that anchor, all other proportions follow — the eyes sit in the lower half, the small nose falls near center, and tiny limbs radiate outward from a compact torso circle.
When drawing kawaii animals, use overlapping arcs to suggest fluffy ears or rounded paws. A compass keeps these forms uniform so your character looks intentional rather than accidental.
Adding Personality to Kawaii Designs
Variety comes from decorating the consistent geometric base. Add blush circles, star-shaped pupils, or oversized accessories after your compass work is done. The structured rounds give your kawaii art a polished, print-ready look.
Visual Storytelling Examples Using Geometric Foundations
How Circles Drive Narrative Composition
Strong visual storytelling examples rely on guiding the viewer’s eye through a scene. Circular compositions — where the focal point sits inside a ring of supporting elements — create natural eye movement. You can draft this ring with your compass before adding any characters or props. Comic panels, storyboard thumbnails, and editorial illustrations all benefit from this technique.
Study published visual storytelling examples in graphic novels: you’ll notice that even asymmetrical pages often contain hidden arcs that connect key figures. Sketch those arcs first with your compass, then build the scene around them.
Creating Visual Flow with Arcs and Lines
Arcs work as invisible arrows. A curved horizon line, drawn with a large compass radius, tilts the viewer’s attention toward your subject. Pair arcs with diagonal lines to add tension and movement to otherwise static images.
Orthographic Drawing Examples: Precision Meets Creativity
Understanding Orthographic Projection
Orthographic drawing examples show an object from multiple flat views — typically front, side, and top — without perspective distortion. Product designers, engineers, and animators reference these views to build accurate 3D models. Your compass handles circular cross-sections like wheel hubs, bottle necks, and button placements that must look identical across all views.
Practice orthographic drawing examples of everyday objects: a coffee mug, a sneaker sole, a simple gear. Each teaches you how circles translate across planes and reinforces spatial thinking.
Using a Compass in Technical Illustration
In technical contexts, a drawing compass guarantees that a 1-inch radius on the front view matches the 1-inch radius on the side view. Use tick marks along a shared baseline to transfer measurements before setting your compass to draw each arc.
Drawing Shirts and Apparel with Geometric Accuracy
Mapping Collar and Sleeve Curves
Drawing shirts from imagination is tricky because fabric curves follow subtle arcs that look wrong when freehand. A compass helps you map the neckline, armhole, and hem consistently. Set a wide radius for a relaxed crew neck or a tighter setting for a fitted collar curve.
Fashion illustrators use these arc guides as underdrawing layers. Once the compass marks establish the structure, you trace over them with expressive line work that captures the fabric’s drape and texture. Drawing shirts this way keeps your collection sketches production-ready.
Applying Orthographic Principles to Fashion Sketches
Combine your knowledge of orthographic drawing with apparel design by producing front, back, and side flats. Each flat view of drawing shirts benefits from compass-drawn symmetry lines and consistent collar-to-hem ratios. Brands use these technical flats as manufacturing guides, so accuracy matters. A compass turned fashion tool transforms your sketchbook into a professional design studio.