Succulent Drawing: From Scratchboard to Intricate Wildlife Art
What makes a succulent drawing so satisfying to create? The geometric precision of overlapping leaves, the subtle gradients from deep teal to silvery green, the architectural quality of each rosette — these plants offer artists a subject that rewards careful observation with stunning results. Whether you’re exploring scratchboard drawings, capturing the wild beauty of wildlife drawings, or pushing into the territory of intricate drawings, succulents are endlessly versatile subjects that suit every medium and skill level.
This guide walks you through the techniques, tools, and approaches that make succulent drawings and related botanical art so compelling. You’ll discover how the same observational skills that serve you in the garden translate beautifully to scratchboard and other specialized media.
Starting with Succulent Drawing Basics
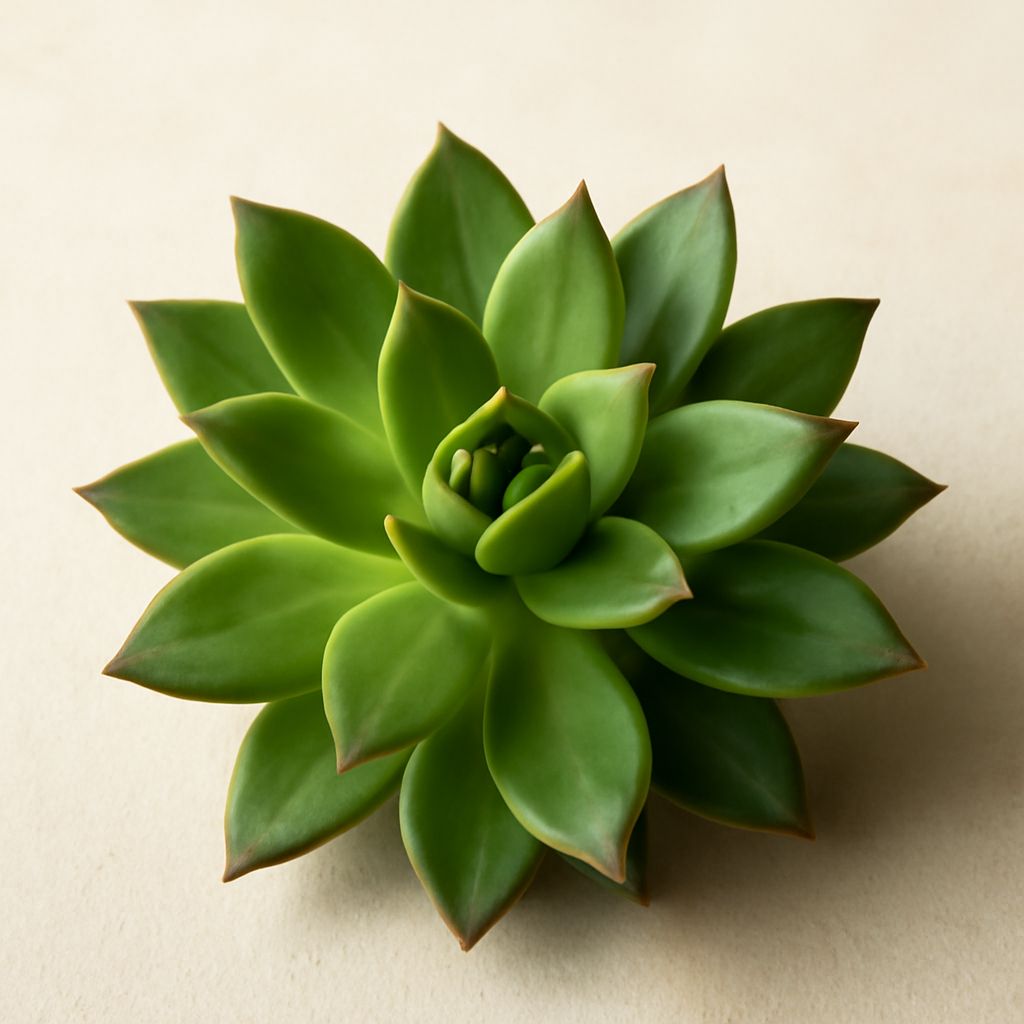
Understanding Succulent Structure
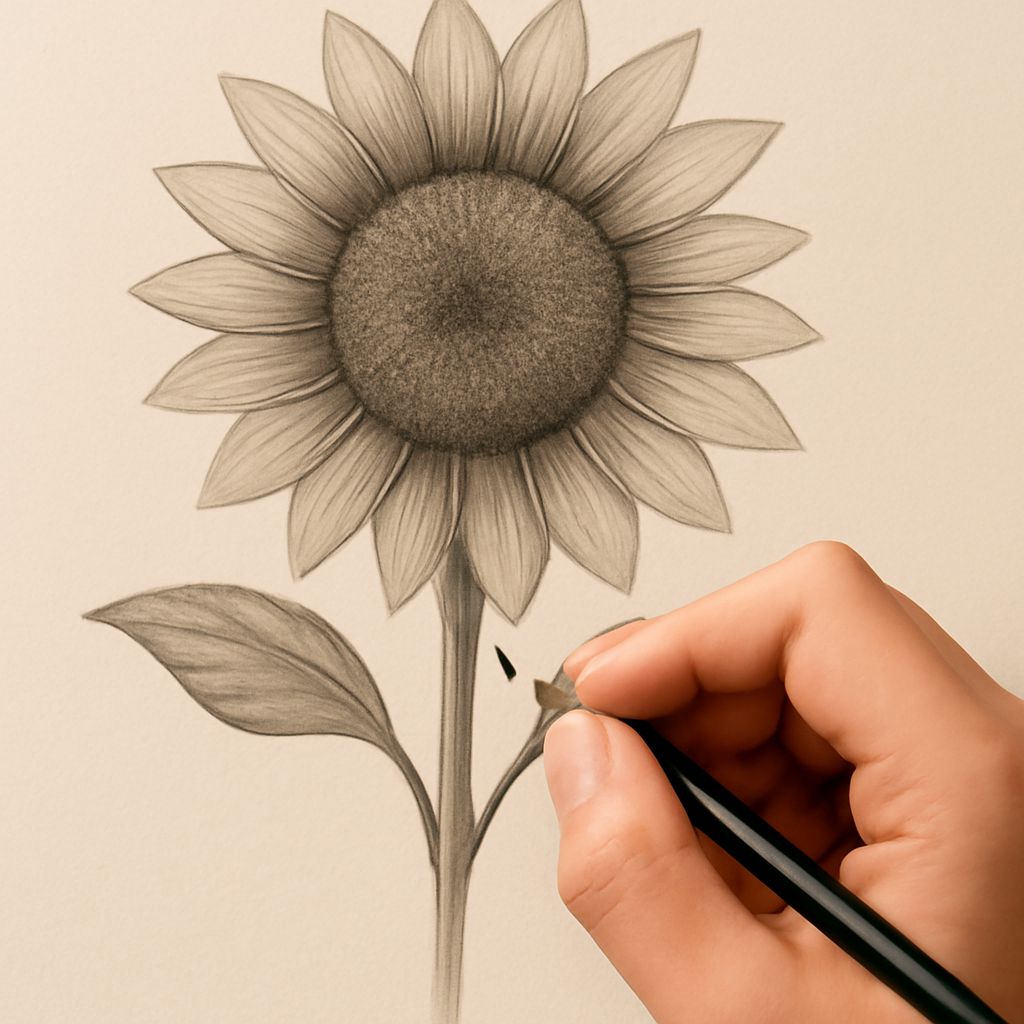
Before putting pencil to paper, spend time really looking at your subject. A succulent drawing begins with understanding the plant’s underlying geometry. Most succulents grow in a rosette pattern — leaves radiate outward from a central point, each successive layer overlapping the one beneath. This spiral structure follows the Fibonacci sequence, which is part of what gives these plants their hypnotic visual appeal.
Sketch the overall silhouette first, then identify the central point and map the layers radiating outward. Don’t try to draw every leaf at once. Instead, work in concentric rings from the center outward, maintaining the overlapping relationships as you go. This systematic approach produces more accurate succulent drawings than drawing leaves randomly across the form.
Value and Color in Botanical Art
Even in grayscale pencil work, value is everything in a succulent drawing. The deepest shadows fall where one leaf tucks beneath another; the brightest highlights catch the outermost, most exposed leaf tips. Use the lightest graphite touch at the center of the rosette, where the new growth is palest, and build toward darker tones at the base of each leaf where it meets the stem.
Scratchboard Drawings: A High-Contrast Approach
The Scratchboard Medium
Scratchboard drawings begin with a clay-coated board covered in black ink. You scratch through the ink surface with a sharp tool to reveal the white clay beneath, effectively drawing with light rather than dark. This reversal of the usual drawing process produces dramatic, high-contrast images with a uniquely textured quality that suits botanical subjects beautifully.
For scratchboard succulents, start by planning your light source carefully — you’ll be “scratching in” the highlights rather than adding them. Use a fine-point scratching tool for the delicate leaf details and vein structures, and a wider tool for broad highlight areas. Scratchboard drawings demand patience and deliberate mark-making, but the results have a jewel-like quality that no other medium achieves.
Wildlife Drawings and the Natural World
The same observational skills that serve your succulent practice transfer directly to wildlife drawings. Animals, like plants, demand careful attention to structure, proportion, and surface texture. A gecko resting on a succulent — or a hummingbird hovering near one — creates natural compositional opportunities that connect botanical and wildlife subjects in a single piece.
Wildlife drawings benefit from reference photos taken in natural light, where the animal’s form and texture are most accurately revealed. Study the work of natural history illustrators for guidance on how to combine scientific accuracy with artistic appeal. The tradition of wildlife drawings in natural history books remains one of the highest expressions of botanical and zoological illustration.
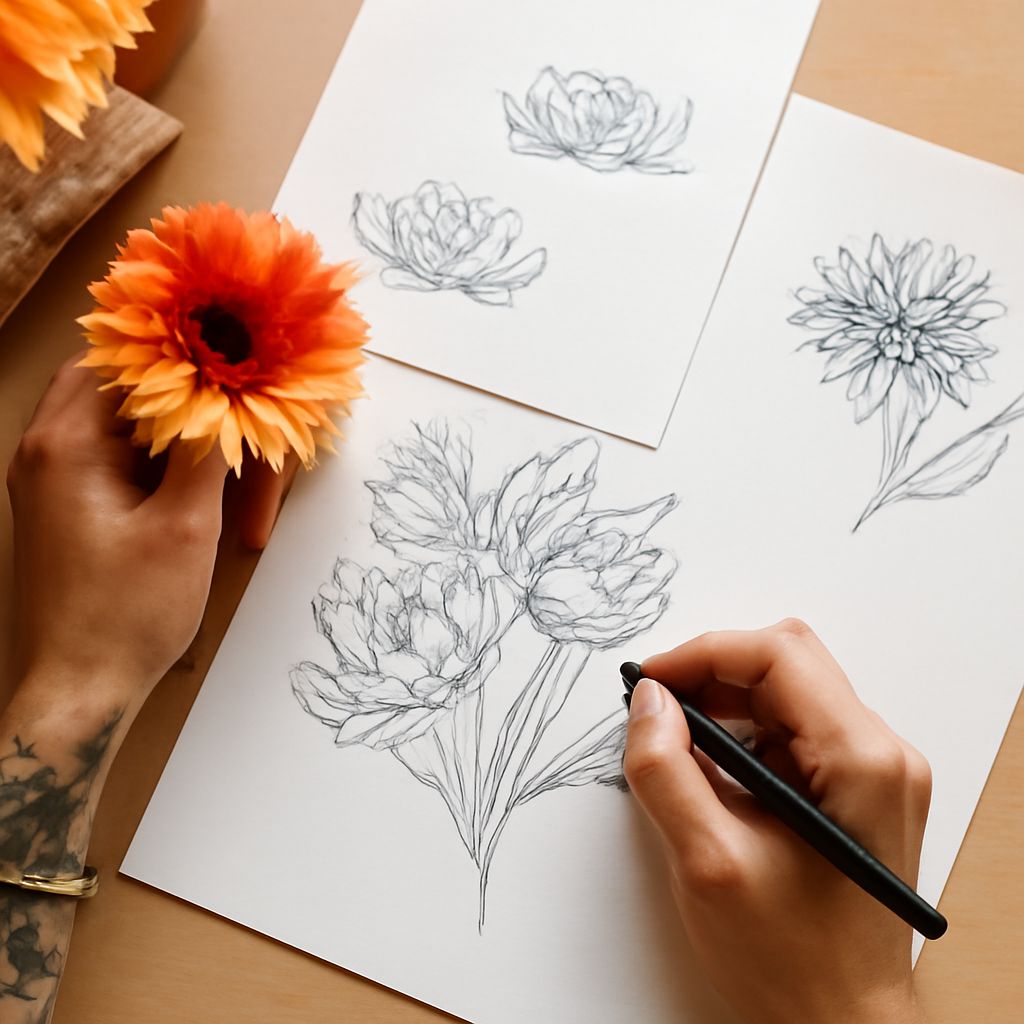
Intricate Drawings: Pushing the Level of Detail
For artists ready to go deeper, intricate drawings of succulents reveal a whole new level of detail: the tiny serrations along leaf margins, the powdery bloom (farina) on leaves, the intricate root systems visible when a plant is removed from its pot. These intricate drawings require magnification (a 10x loupe is invaluable), fine-tipped pens or pencils, and a methodical approach that breaks the subject into small sections.
Producing intricate drawings of any subject trains your eye in ways that improve all your other work. The patience and attention required to render every leaf serration or root hair makes you a more perceptive observer overall, which shows in every drawing you produce afterward.
Next steps: Choose one succulent drawing subject — a single rosette, a cluster, or a mixed arrangement — and commit to a full observational study. Try the same subject in two different media, such as graphite and scratchboard, to discover how the medium shapes your interpretation. Then expand into a small series of succulent drawings that progresses from simple to intricate over the course of a month.