Hibiscus Flower Drawing: From First Sketch to Finished Illustration
What makes a hibiscus flower drawing such a satisfying subject compared to other tropical blooms? The hibiscus offers everything an artist wants: bold, simple petal shapes with elegant curves, a dramatic central stamen column, and intense color gradients that challenge your blending skills. It’s also refreshingly different from the more commonly studied blooms — a peony drawing trains your eye for layered, complex forms, while the hibiscus rewards clean, confident strokes that capture the petal’s gentle cup shape. Working between these flower types builds a well-rounded botanical drawing vocabulary.
This guide covers the step-by-step process for creating a hibiscus flower drawing from initial sketch to finished piece, explains how the skills transfer to related subjects like a peony flower drawing, shows what makes a successful peonies drawing different from a hibiscus approach, and gives you practical guidance for creating a quick observational peony sketch alongside your hibiscus studies.
Starting Your Hibiscus Flower Drawing
Understanding the Hibiscus Structure
Before drawing, take a few minutes to study the flower’s architecture. A hibiscus has five large, overlapping petals that flare outward from a central tube. The petals are asymmetrical — each twists slightly, creating a pinwheel quality that gives the bloom its characteristic energy. The central stamen column is long and prominent, projecting well beyond the petal ring, with a cluster of anthers at its tip.
In a hibiscus flower drawing, capturing this torsion in the petals is the key challenge. Each petal has a different angle relative to the viewer depending on where it sits in the bloom’s pinwheel arrangement. The petal closest to the viewer appears nearly flat; the one turning away shows its underside and appears foreshortened. Recognizing these differences before you start drawing prevents the flat, symmetrical hibiscus that beginners typically produce.
The Initial Sketch Phase
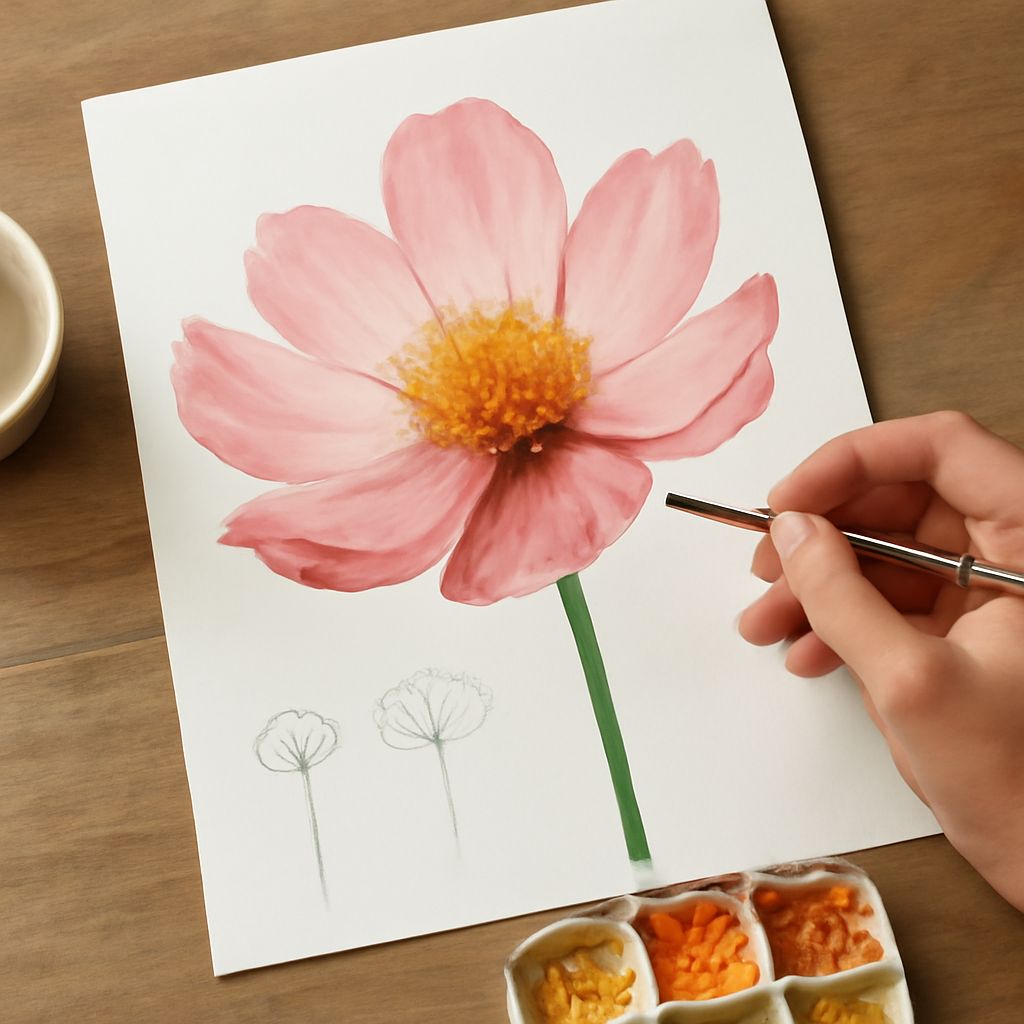
Begin with a light gesture drawing that captures the flower’s overall silhouette and the angle of the stamen column. Use a single curved line to indicate each petal’s general direction, then add a construction ellipse for the flower’s central opening. At this stage, keep everything loose — you’re mapping the general composition, not committing to final lines.
Once the gesture is in place, refine each petal shape individually. The hibiscus petal has a characteristic heart-like base that narrows at the point of attachment to the flower center, then widens dramatically to a broadly rounded or slightly ruffled tip. Getting this profile shape right on each petal — even the ones turning away from the viewer — is what gives the hibiscus flower drawing its characteristic energy.
Peony Drawing: A Different Kind of Floral Challenge
The Layered Structure of Peonies
Shifting from hibiscus to a peony drawing requires a completely different mental model. Where the hibiscus is open and radiating outward, the peony turns inward — layers of petals spiraling around a hidden center. A single peony bloom can have anywhere from 5 to 100 petals depending on the variety, and capturing that density without creating visual chaos is the central challenge of peony flower drawing.
Start a peony drawing with the outermost guard petals — the large, cupped petals that form the flower’s outer boundary. These establish the bloom’s overall size and shape. Then work inward, adding progressively smaller, more tightly curved petals toward the center. The innermost petals are often almost folded closed, creating deep shadows that anchor the center visually.
Creating Convincing Peonies Drawing and Peony Sketches
A peonies drawing — multiple blooms together — requires consistent light logic across all flowers. Decide on a single light source before starting and apply it uniformly: all flowers catch light from the same direction, all cast shadows fall the same way. Inconsistent lighting across a multi-bloom arrangement is the most common reason otherwise strong botanical drawings fall apart.
For a quick observational peony sketch, work in under twenty minutes and focus only on the overall silhouette and the major shadow masses. Resist the temptation to detail individual petals — at this stage, the goal of a peony sketch is understanding the flower’s three-dimensional form in space, not documenting its surface texture. The detail comes in the finished illustration stage, built on the foundation of an accurate sketch.
Finishing and Rendering Techniques for Both Flowers
Whether finishing a hibiscus flower drawing or a peony illustration, the rendering process follows the same general logic: establish your lightest lights and darkest darks first, then build mid-tones in layers. For the hibiscus, pay particular attention to the color gradient from the petal’s outer edge (often lighter) toward its center (typically deeper and more saturated). For peonies, the gradient runs from light outer guard petals to shadowed inner petals.
Next Steps for Your Botanical Drawing Practice
Once you’re comfortable with hibiscus and peony studies individually, combine them in a single arrangement. Working with multiple flower types in the same composition trains you to manage visual variety — different silhouette shapes, different structural complexity, different approaches to light and shadow — within a single unified piece. Botanical illustration at its best balances observational accuracy with compositional grace. The more flower structures you study in depth, the more naturally both qualities develop together.