T-Shirt Drawing and Other Practical Drawing Skills for Everyday Creatives
What does a t-shirt drawing have in common with keeping a serious drawing journal? Both are practical applications of artistic skill in contexts that aren’t galleries or portfolios. Drawing a shirt for a design brief, a costume concept, or a fashion illustration requires specific knowledge of how fabric folds, hangs, and wrinkles on a body. A drawing journal builds the observational habit and visual memory that every other kind of drawing practice depends on. Together, practical skills like these — alongside drawing studies, drawing a map, and working through a drawing block — form the full picture of what it means to draw regularly and intentionally.
This guide covers each of these practical drawing contexts with specific techniques and approaches you can apply immediately, whether you’re designing apparel, maintaining a sketchbook practice, studying master works, navigating geographic illustration, or pushing through creative paralysis.
T-Shirt Drawing: Fashion and Apparel Illustration Basics
Understanding Fabric Behavior
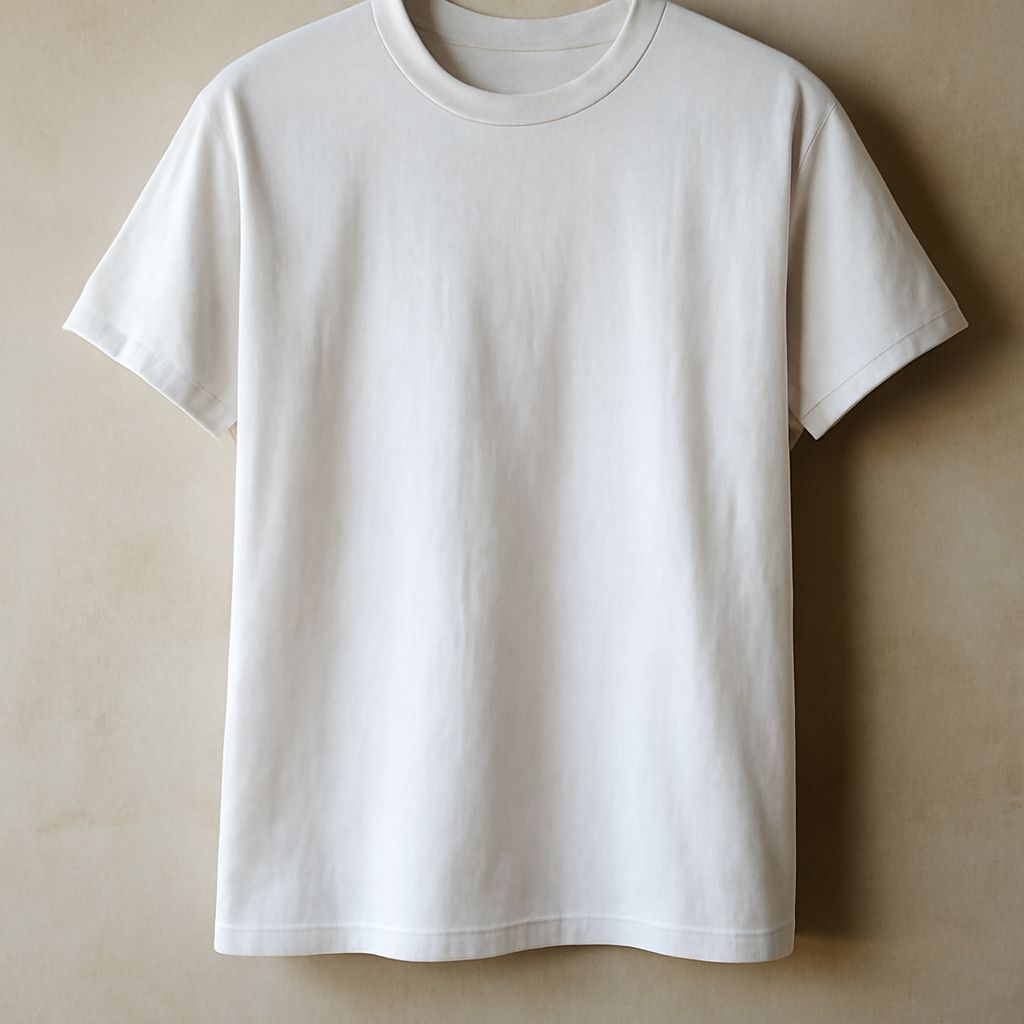
A convincing t-shirt drawing requires understanding how a knit fabric behaves differently from woven fabric. Cotton jersey (the material of most t-shirts) stretches in both directions, clings lightly at contact points, and folds in organic, relatively soft creases compared to denim or cotton poplin. Stress folds radiate from points of tension — armholes, collar, and the wrist if sleeves are pushed up — while gravity folds appear at areas where the fabric hangs freely.
For a basic t-shirt drawing on a figure, start with the body beneath the shirt — even a simplified mannequin form — so that the fabric has a clear spatial relationship to the body it covers. Then add the shirt’s silhouette over this base, followed by the major fold lines at stress points. Finally, add the softer, secondary folds that fill the fabric’s flat hanging areas.
Design and Graphic Layout on a T-Shirt Template
When drawing a shirt for design presentation purposes rather than fashion illustration, a three-quarter front view or flat lay view (the shirt laid flat, showing front and back) is typically most useful for clients. The flat lay eliminates body-related distortion and lets you present graphic placement clearly. Use perspective lightly in a flat lay — the shirt’s lower hem and the sleeves should recede very slightly to suggest three-dimensionality without complicating the graphic reading.
Keeping a Drawing Journal
A drawing journal is different from a sketchbook in one key way: it’s private and process-oriented rather than portfolio-oriented. In a drawing journal, you work things out. You draw the same subject five times in a row, annotate what went wrong, sketch quick studies of things you saw on the street, write notes next to drawings, and make deliberately terrible drawings as experiments. The absence of performance pressure is what makes a journal valuable as a practice tool.
Maintain your drawing journal on a daily or near-daily basis, even if individual entries are only five minutes long. Consistency builds observational habit more effectively than occasional intensive sessions. Date every entry — reviewing your journal from three months ago is one of the clearest ways to see genuine improvement.
Drawing Studies: How to Learn from the Masters
Drawing studies — copying works by artists you admire — are one of the most efficient learning methods available. The goal of a study is not to produce a replica; it’s to internalize a technique, compositional approach, or handling of light that the original artist understood and you want to understand. Copy the same work three times across different sessions, focusing on a different element each time: proportions first, then tonal values, then mark quality.
Effective drawing studies are annotated. Write observations about what you noticed while copying — what made a particular shadow edge work, why a composition feels balanced, how the artist handled a transition you struggled with. These notes make the study session active rather than passive, and they’re invaluable to review later.
Drawing a Map: Cartographic Illustration for Beginners
Drawing a map sits at the intersection of illustration and information design. Whether you’re drawing a fantasy world map, a neighborhood guide, or a historical cartography study, the core challenge is the same: representing three-dimensional geographic information clearly on a flat surface with consistent visual conventions. For hand-drawn maps, establish your conventions before you start drawing: what do hatching patterns represent (elevation, forest, desert)? What scale does your map use, and how do you indicate it?
Drawing a map benefits from light pencil construction lines throughout — grid lines help maintain consistent scale, and a rough sketch of major features before committing to ink prevents layout errors that are difficult to correct. Ink with confidence once the pencil layout is confirmed.
Working Through a Drawing Block
A drawing block — the creative paralysis where you sit down to draw and produce nothing — has predictable causes and equally predictable solutions. The most common cause of a drawing block is outcome pressure: the expectation that whatever you produce must be good. Remove the pressure by deliberately drawing something bad. Set a timer for five minutes and make the worst drawing you can. The absurdity breaks the paralysis and gets the hand moving.
Other effective block-breakers: switch to a completely different medium than your usual one, draw from a reference you’ve never used before, or copy a small section of a work you admire rather than starting an original piece. All of these shift focus from outcome to process, which is where creative momentum actually lives.